- Shopping, made easy.
- /
- Get the app!
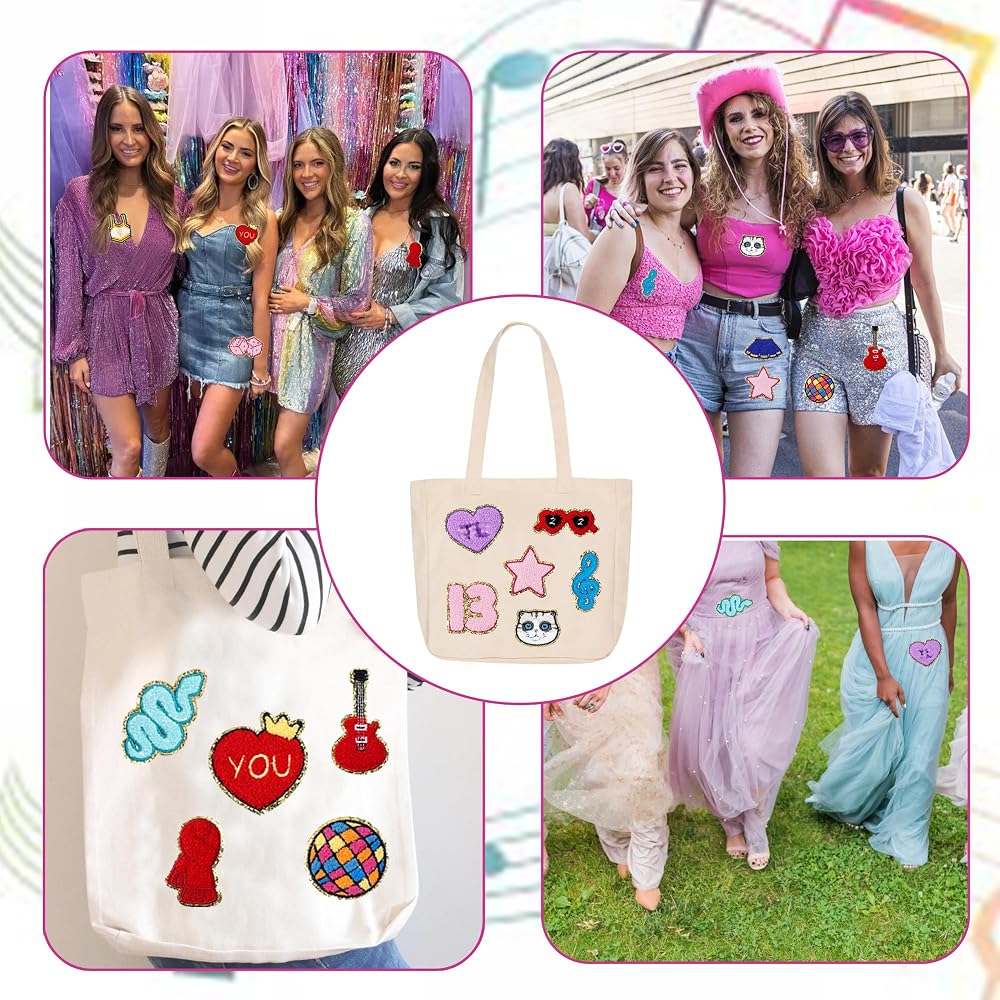
Product specifications:
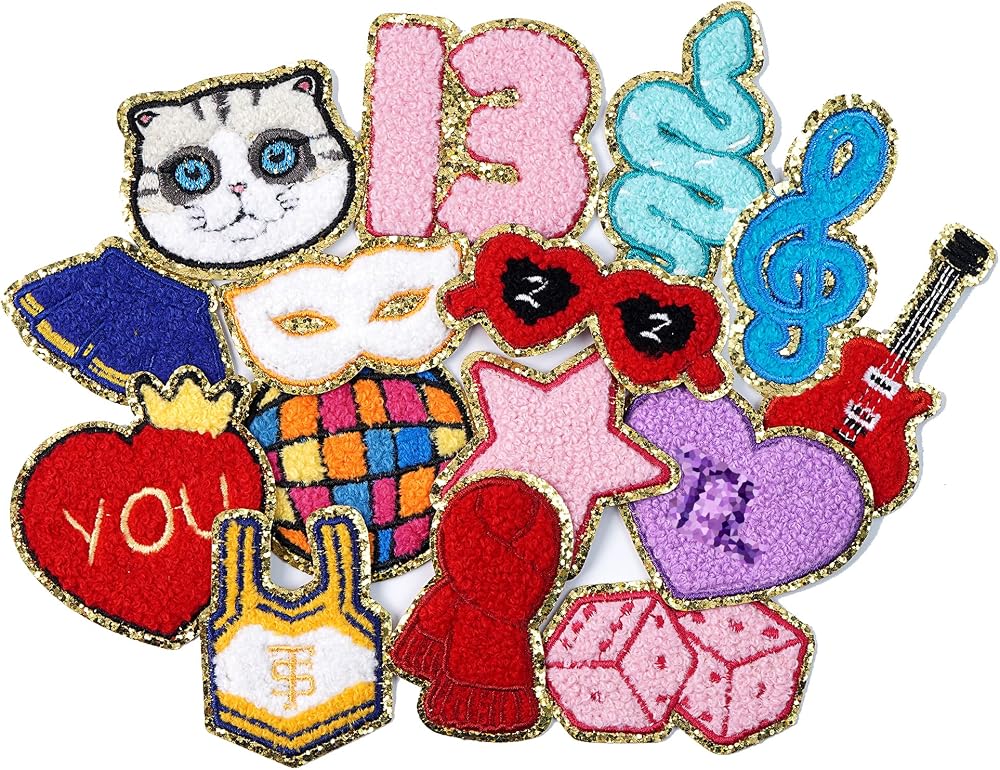
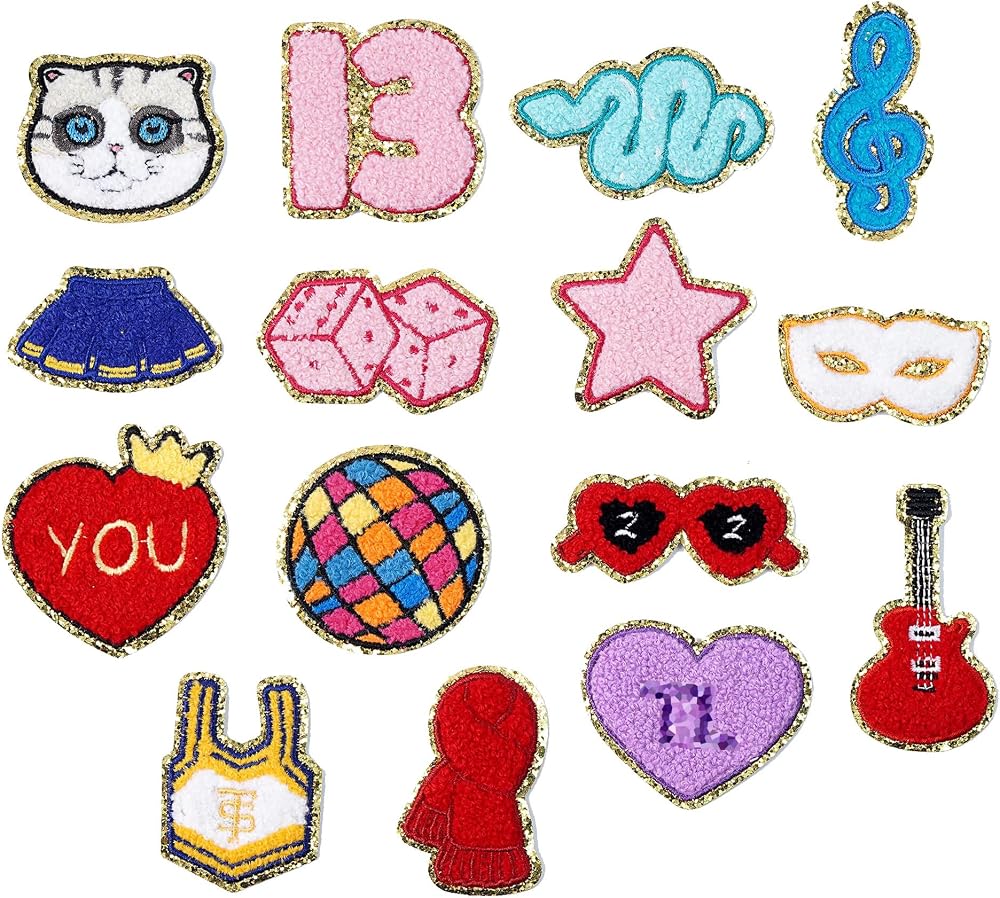
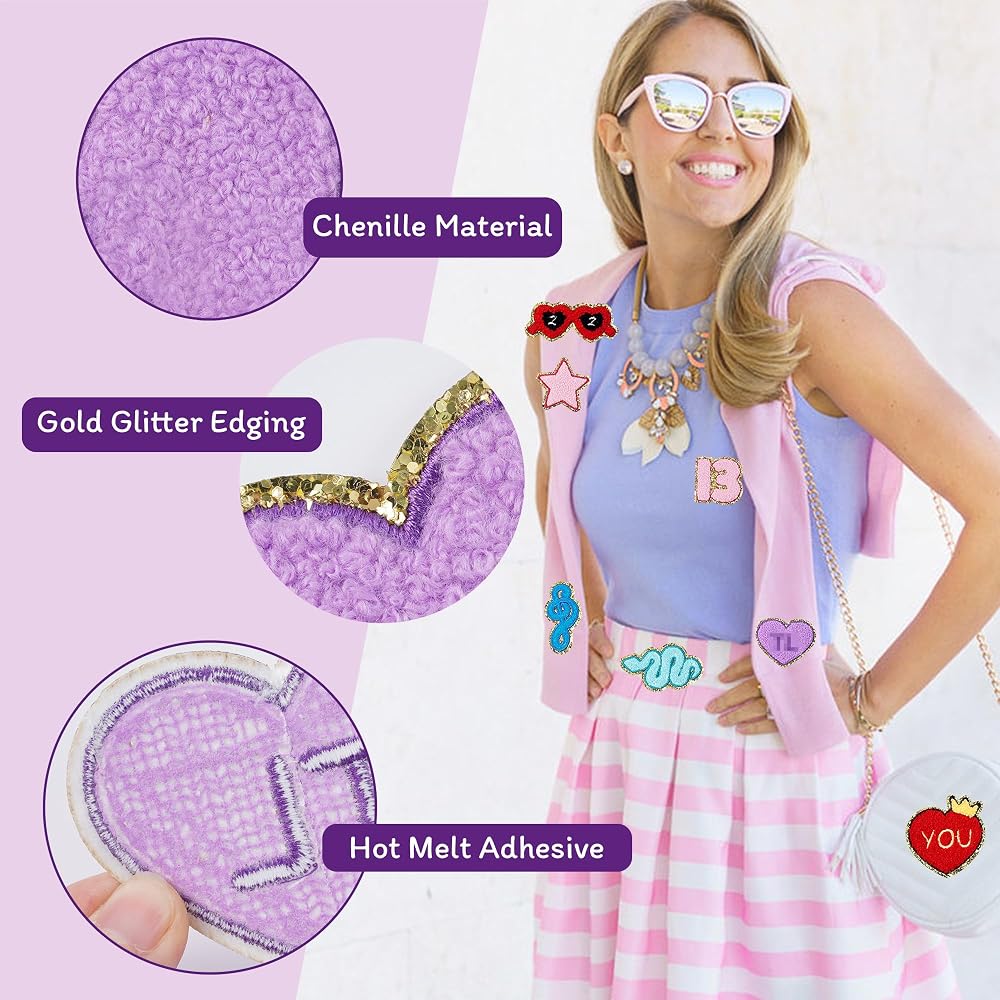
Embroidery patch applique
Material: Felt fabric, polyester thread + viscose
Color & Size: As the picture shows
Packing List: 15 pcs funny music backpack patches for girls DIY craft decor stickers
How to use:
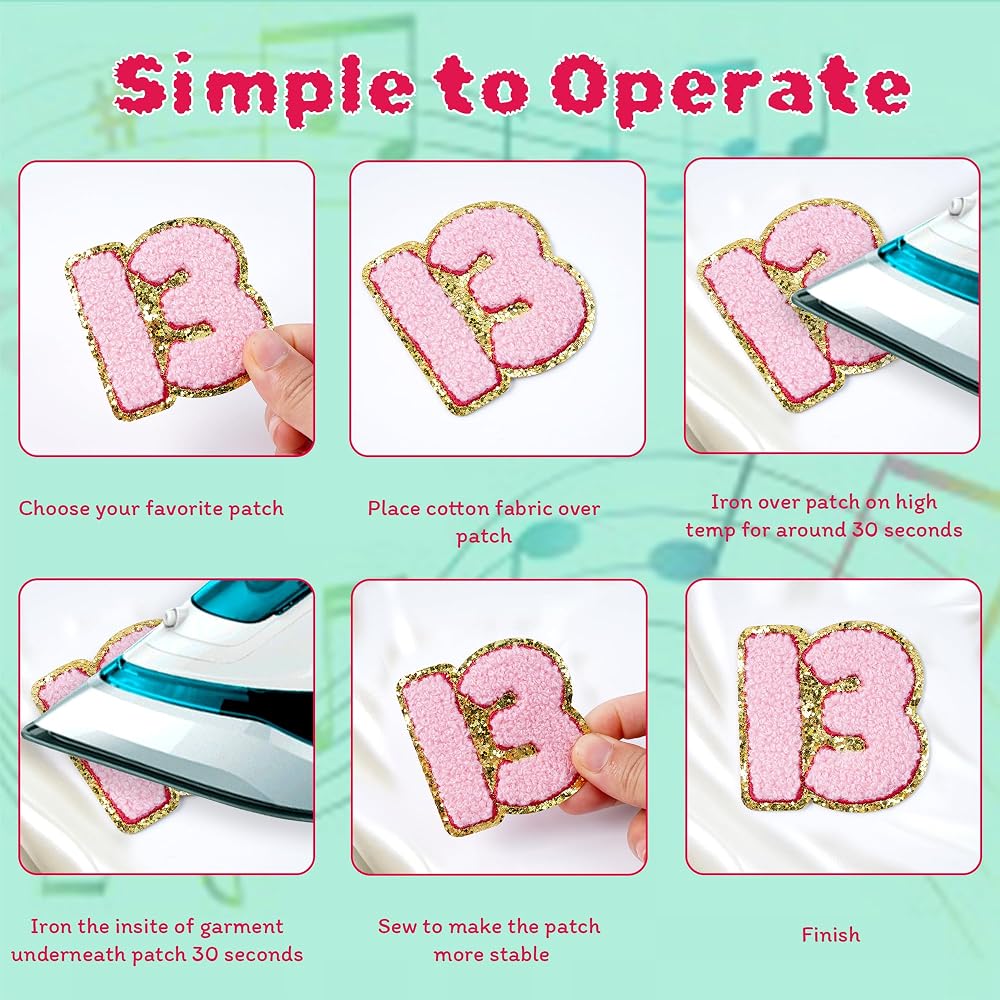
1. Please note that the film on the back of the patch is glue, please don't tear it off.
2. Place the applique on the surface of the fabric and put a press cloth (handkerchief or pillowcase) on top to protect the patch. Preheat the iron to the fabric setting and iron from the front of the fabric patch for 10-20 seconds to hold the patch in position. You can also use a needle and thread to fix the position of the fabric patch before ironing so that it will not be shifted.
3. According to the different fabrics, turn the fixed position of the fabric sticker with the clothes upside down, press the iron downward for 30-60s to make sure the adhesive backing is melted and the fabric sticker is firmly attached to the clothes.
4. Iron from the front side for 1-2 minutes, mainly at the edges and corners.
Tips:
1. Actual colours may vary slightly on different monitors.
2. The size is slightly wrong due to manual measurement.
 Morex Ribbon, Grosgrain Polka Dots, 1 inch by 4 Yards, Yellow
SAR 32
Morex Ribbon, Grosgrain Polka Dots, 1 inch by 4 Yards, Yellow
SAR 32
 1/8 inch Non-Slip Elastic Band -3mm 15 Yards Soft Elastic Cord Stretch String Braided Thread for Sports Gear, DIY Crafts, Hair Bands, Apparel Making & Camping Tie Down (Ivory)
SAR 47
1/8 inch Non-Slip Elastic Band -3mm 15 Yards Soft Elastic Cord Stretch String Braided Thread for Sports Gear, DIY Crafts, Hair Bands, Apparel Making & Camping Tie Down (Ivory)
SAR 47
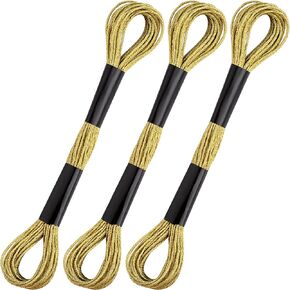 3 Skeins Metallic Embroidery Floss, Glitter Embroidery Thread String, Polyester Cross-Stitch Threads for Hand Embroidery, String Art, DIY Bracelet- Gold & Silver & Yellow
SAR 29
3 Skeins Metallic Embroidery Floss, Glitter Embroidery Thread String, Polyester Cross-Stitch Threads for Hand Embroidery, String Art, DIY Bracelet- Gold & Silver & Yellow
SAR 29
 -25%
Adjustable Tuck Band, 2 PCS Crop Band Tool for Sweater and Shirt, Medium Belly Elastic Band for Women
SAR 21
-25%
Adjustable Tuck Band, 2 PCS Crop Band Tool for Sweater and Shirt, Medium Belly Elastic Band for Women
SAR 21