- التسوق ، اصبح سهلا.
- /
- احصل على التطبيق!
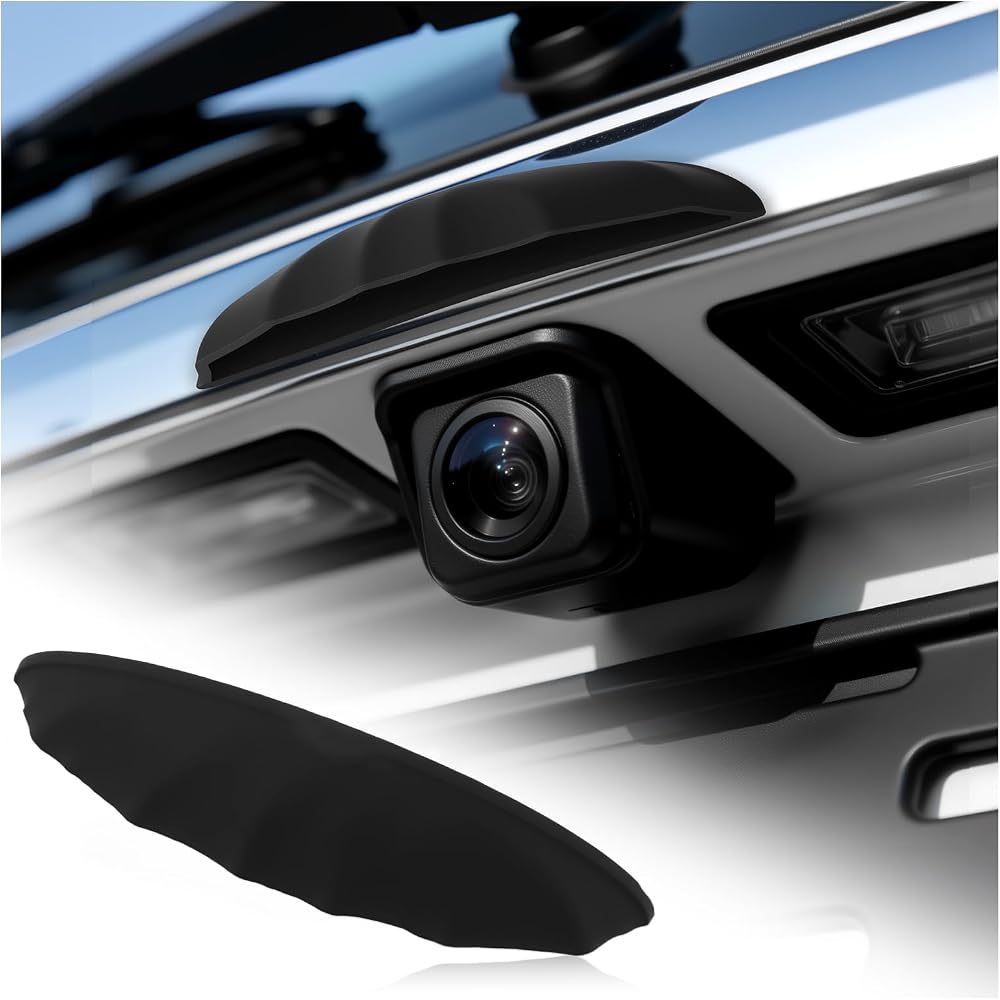
Reverse Camera Rain Cover – Silicone, Adhesive Mount, Foggy Weather Helper
Product Attributes
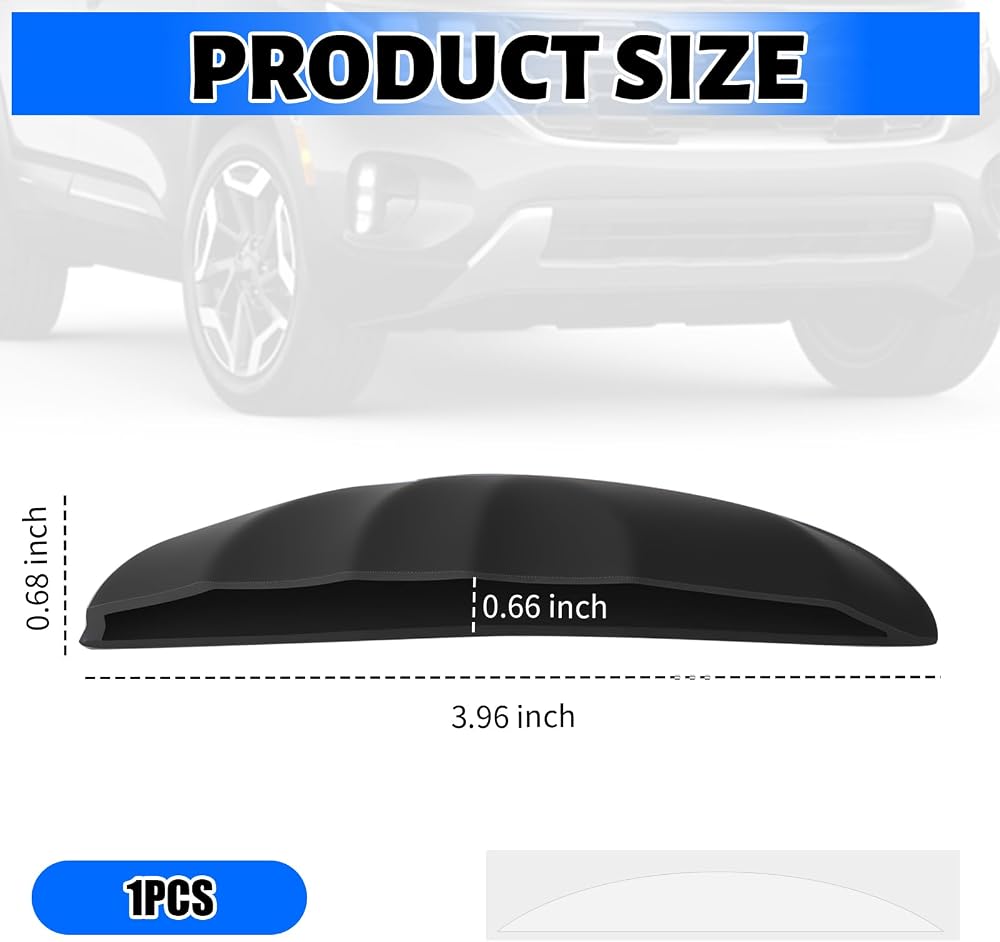
Colors: Black
Sizes: 3.96*0.68*0.66 inch
Weight: 0.4 oz
Material: Silicone
Packaging: Car Backup Camera Protective Sticker*1
Package Sizes: 5.7*4.7*0.32 inch
Features
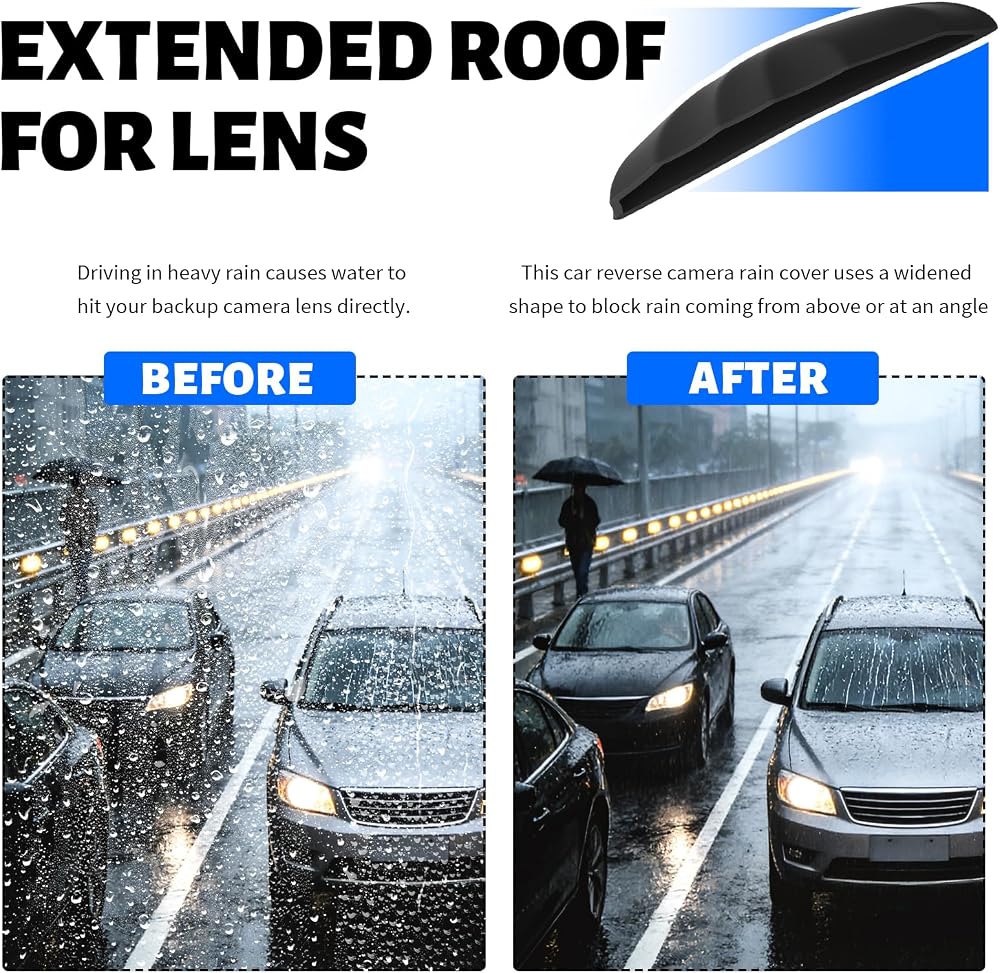
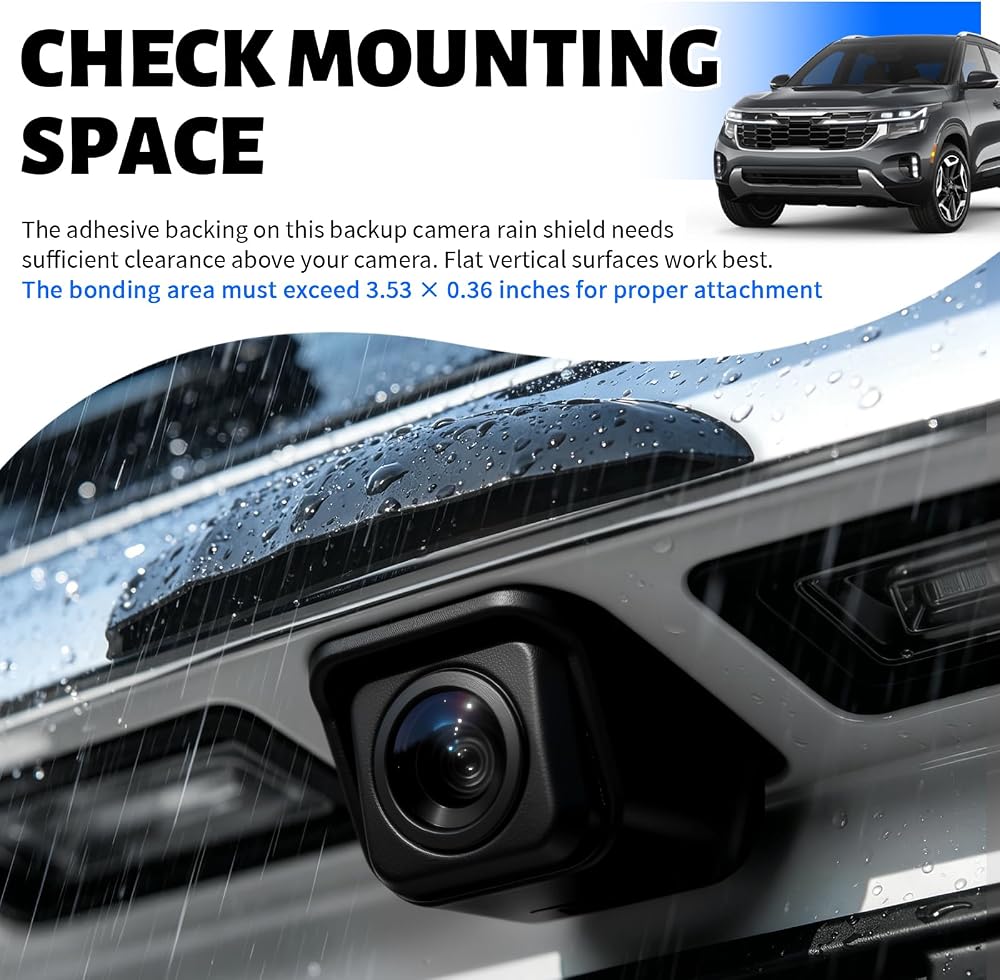
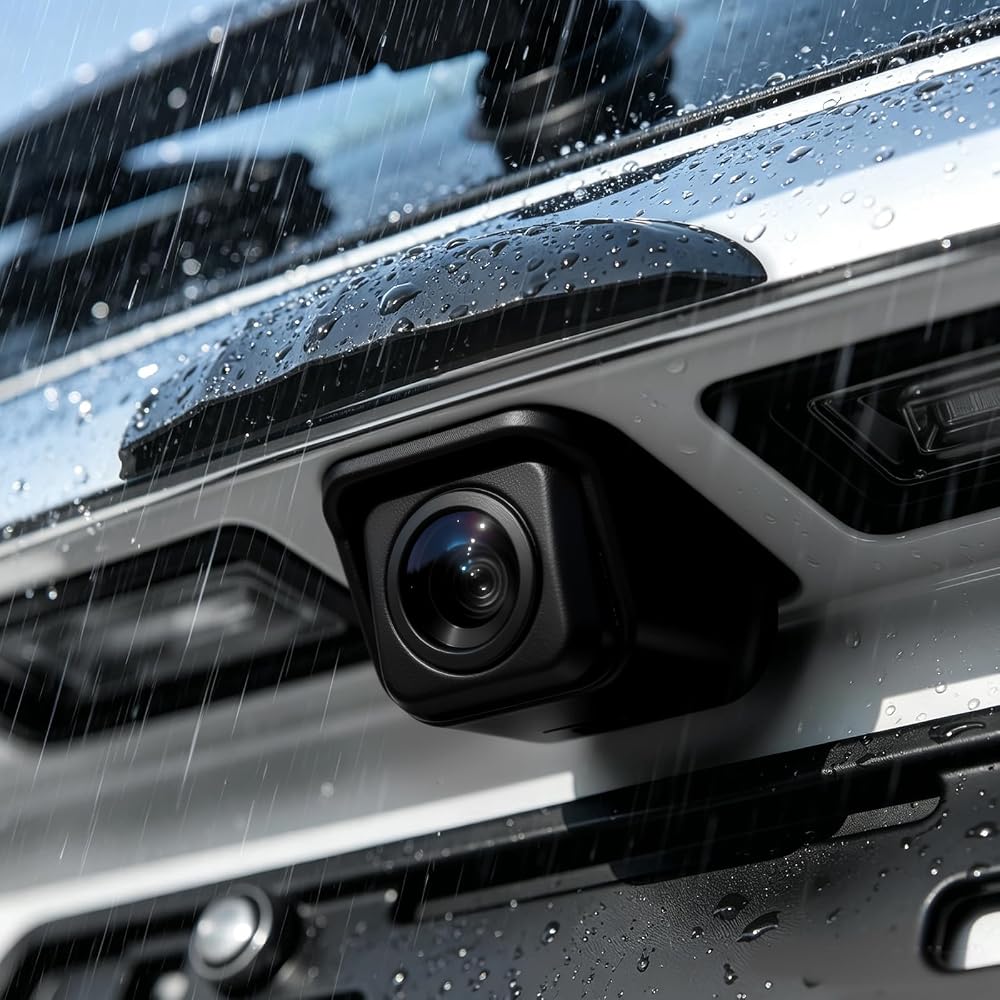
Rain Deflection
The cover shields the camera lens from falling rain. Helps you see clearly behind the car during heavy downpours
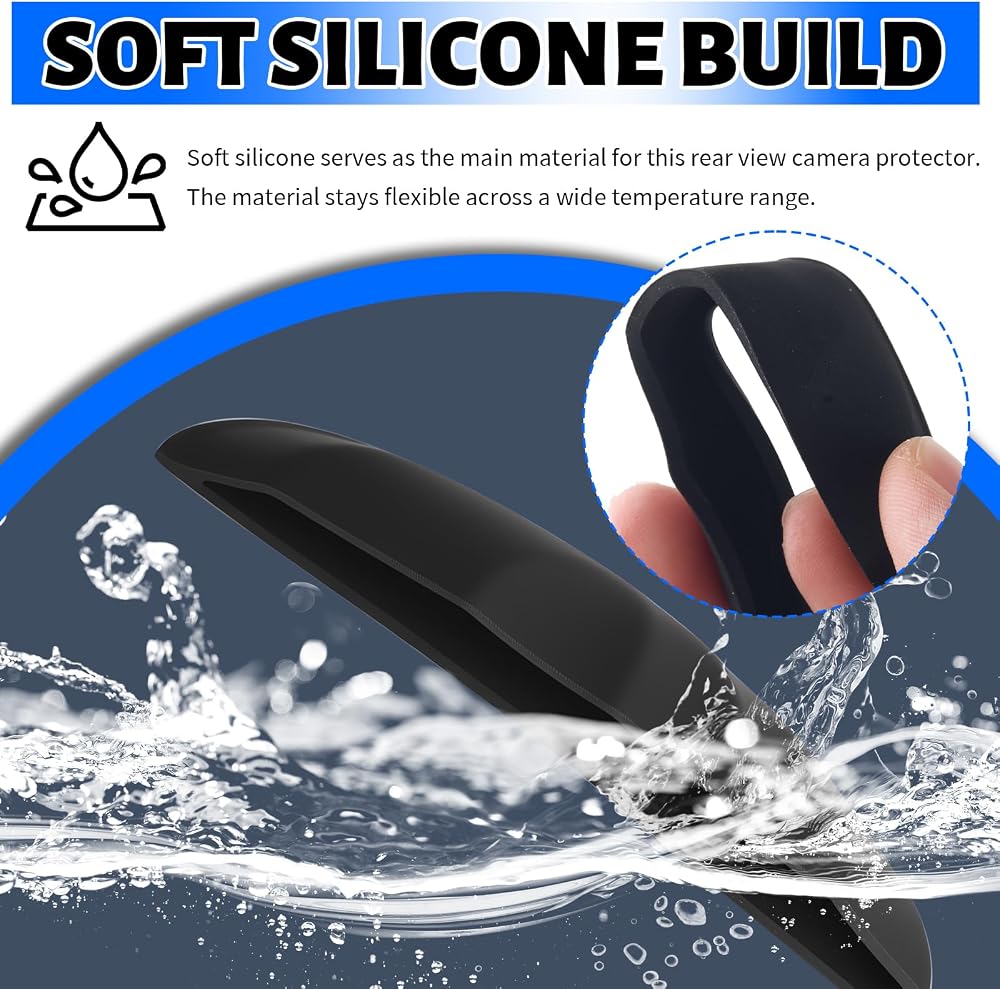
Silicone Construction
Soft and flexible. Resists heat and won't become brittle after months of sun exposure
Grooved Backing
A notch on the reverse side lets the adhesive contact the surface more evenly. Creates a firmer, tighter attachment
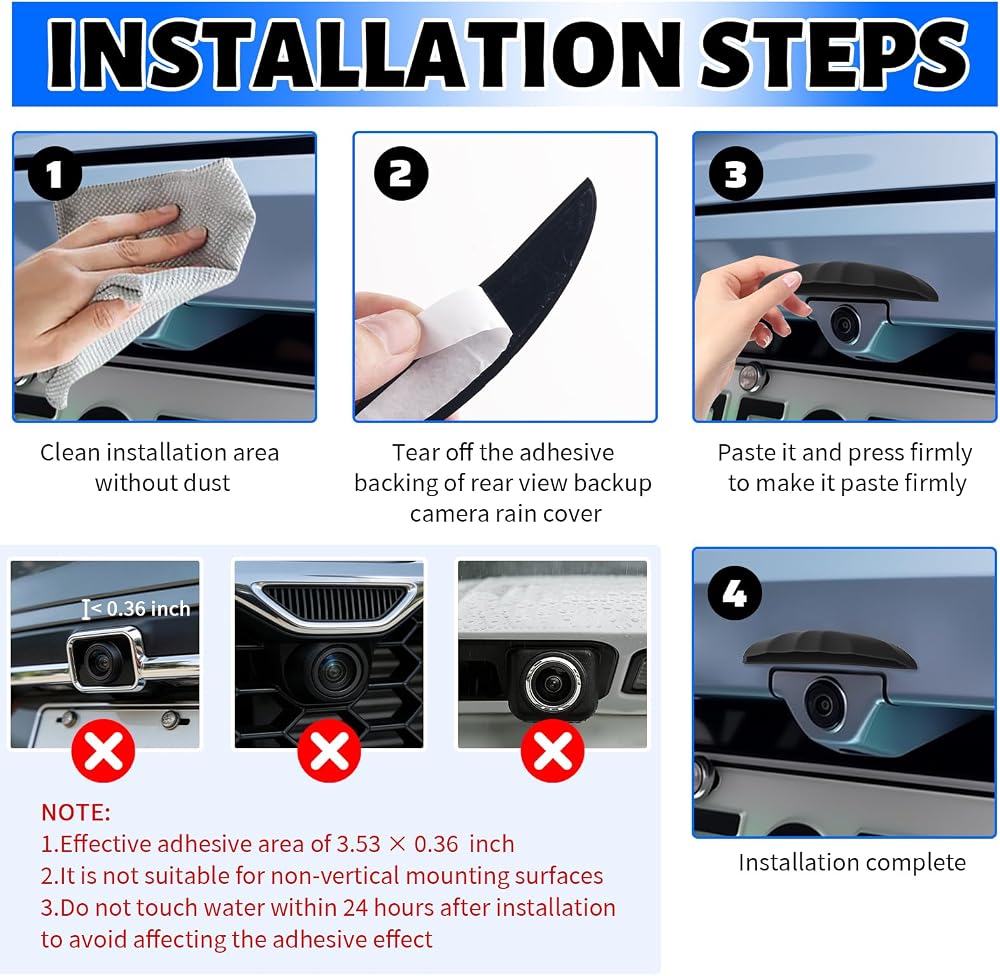
Installation Steps
Wipe the mounting area with a damp cloth
Once the surface is dry, remove the adhesive backing and press the sticker into place. You can warm the adhesive with a hair dryer to help it stick better
Keep the area dry for 24–48 hours after installation
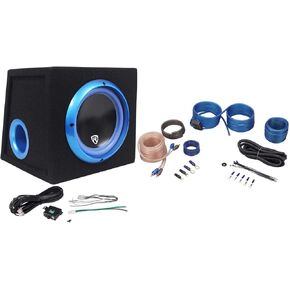 Rockville RVB8.1A حاوية مضخم صوت للسيارة تعمل بالطاقة مقاس 8 بوصات مع مجموعة أسلاك RWK10
SAR 548
Rockville RVB8.1A حاوية مضخم صوت للسيارة تعمل بالطاقة مقاس 8 بوصات مع مجموعة أسلاك RWK10
SAR 548
 ستيريو سيارة ل دودج رام 1500 2500 3500 2003 2004 2005 | أندرويد 13 رباعي النواة | شاشة لمس 9 بوصات | 2 جيجابايت + 64 جيجابايت | CarPlay Android Auto | Bluetooth WiFi GPS | FM AM RDS | SWC | كاميرا احتياطية
SAR 835
ستيريو سيارة ل دودج رام 1500 2500 3500 2003 2004 2005 | أندرويد 13 رباعي النواة | شاشة لمس 9 بوصات | 2 جيجابايت + 64 جيجابايت | CarPlay Android Auto | Bluetooth WiFi GPS | FM AM RDS | SWC | كاميرا احتياطية
SAR 835
 سيارة GPS للملاحة 7 بوصة شاحنة الملاح أحدث الخرائط شاشة تعمل باللمس مركبة GPS التجارية سائق شاحنة الملاحة الصوتية تحذير مسرعة تحديث مجاني للخرائط مدى الحياة
SAR 261
سيارة GPS للملاحة 7 بوصة شاحنة الملاح أحدث الخرائط شاشة تعمل باللمس مركبة GPS التجارية سائق شاحنة الملاحة الصوتية تحذير مسرعة تحديث مجاني للخرائط مدى الحياة
SAR 261
 ستيريو راديو سيارة واي فاي 5 جيجا هرتز لسيارة Mercedes Benz Smart Fortwo 2011-2015، شاشة لمس 9 بوصة/Android 15/Wireless CarPlay/Android Auto/DSP EQ/GPS Navigation/Bluetooth/FM/RDS/SWC/HD كاميرا احتياطية 2+64 جيجا
SAR 548
ستيريو راديو سيارة واي فاي 5 جيجا هرتز لسيارة Mercedes Benz Smart Fortwo 2011-2015، شاشة لمس 9 بوصة/Android 15/Wireless CarPlay/Android Auto/DSP EQ/GPS Navigation/Bluetooth/FM/RDS/SWC/HD كاميرا احتياطية 2+64 جيجا
SAR 548