- Shopping, made easy.
- /
- Get the app!
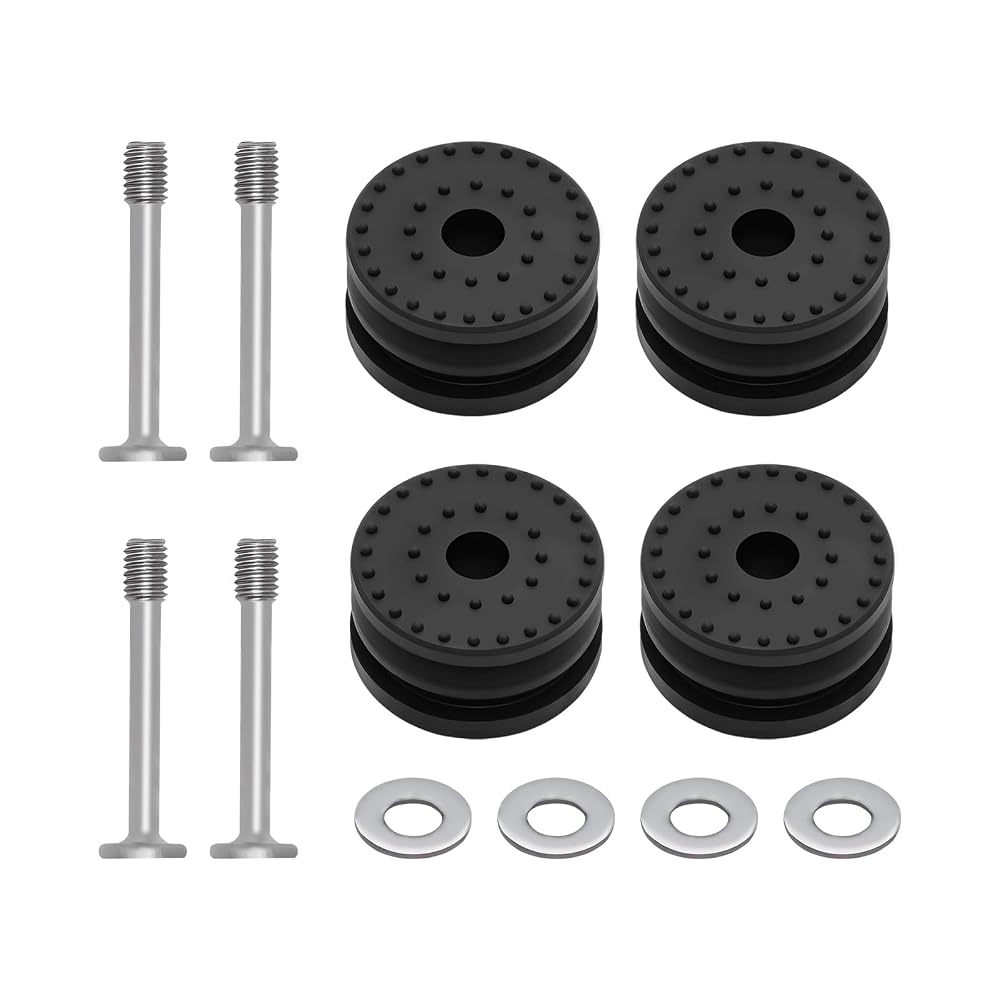
In the Box:
4 X Anti-Vibration Feet
4 X Screw
4 X Gasket
Functions of the H2D Anti-Vibration Feet:
The anti-vibration feet are installed at the bottom of the printer to reduce vibrations during the printing process. The anti-vibration feet are attached to the 4 corners of the printer's base using adhesive backing, secured with washers and screws.
Install The Anti-vibration Feet
1. Peel off the adhesive backing of the new feet
2. Thread the washers onto the screws , then insert the screws and washers into the feet
3. Pull the bottom of the screws by hand to secure the washers and screws into the feet
4. Align the screws with the holes, and install the feet and screws together, Press the feet firmly to adhere them to the ring, then use the hex key to tighten the fixing screws
After finish feet install, Place the printer flat on the table, ensuring it is stable and does not wobble
(NOTE: Given the printer's weight, it is recommended that two people work together to avoid potential damage)
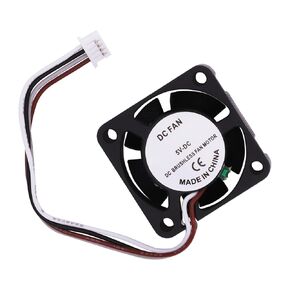 Hotend Cooling Fan for Bambu Lab X1 Series, Dual Ball Bearing Cooling Fan 2510 5V Fan for Bambu Lab X1/X1C/X1E 3D Printer Hotend
SAR 63
Hotend Cooling Fan for Bambu Lab X1 Series, Dual Ball Bearing Cooling Fan 2510 5V Fan for Bambu Lab X1/X1C/X1E 3D Printer Hotend
SAR 63
 P1S P1P Hotend Complete Kit, Full Assembly Hot End Print Head with Ceramic Heater, Thermistor, Cooling Fan, 0.4mm Hardened Steel Nozzle, Hotend Replacement for Bambu Lab P1 Series 3D Printer
SAR 168
P1S P1P Hotend Complete Kit, Full Assembly Hot End Print Head with Ceramic Heater, Thermistor, Cooling Fan, 0.4mm Hardened Steel Nozzle, Hotend Replacement for Bambu Lab P1 Series 3D Printer
SAR 168
 2PCS Kobra 3 Max Nozzle 0.4mm, Integrated Quick Swap Hardened Steel Nozzle High Flow High Speed Hot End Spray Nozzle for Anycubic Kobra 3 Max 3D Printer
SAR 0
2PCS Kobra 3 Max Nozzle 0.4mm, Integrated Quick Swap Hardened Steel Nozzle High Flow High Speed Hot End Spray Nozzle for Anycubic Kobra 3 Max 3D Printer
SAR 0
 78.74 inch 6-Pin AMS HUB Extension Cable for Bambu Lab P1P/P1S/X1C/X1/X1E 3D Printer, 22AWG High Purity Copper Wire with Magnetic Ring Filter
SAR 0
78.74 inch 6-Pin AMS HUB Extension Cable for Bambu Lab P1P/P1S/X1C/X1/X1E 3D Printer, 22AWG High Purity Copper Wire with Magnetic Ring Filter
SAR 0