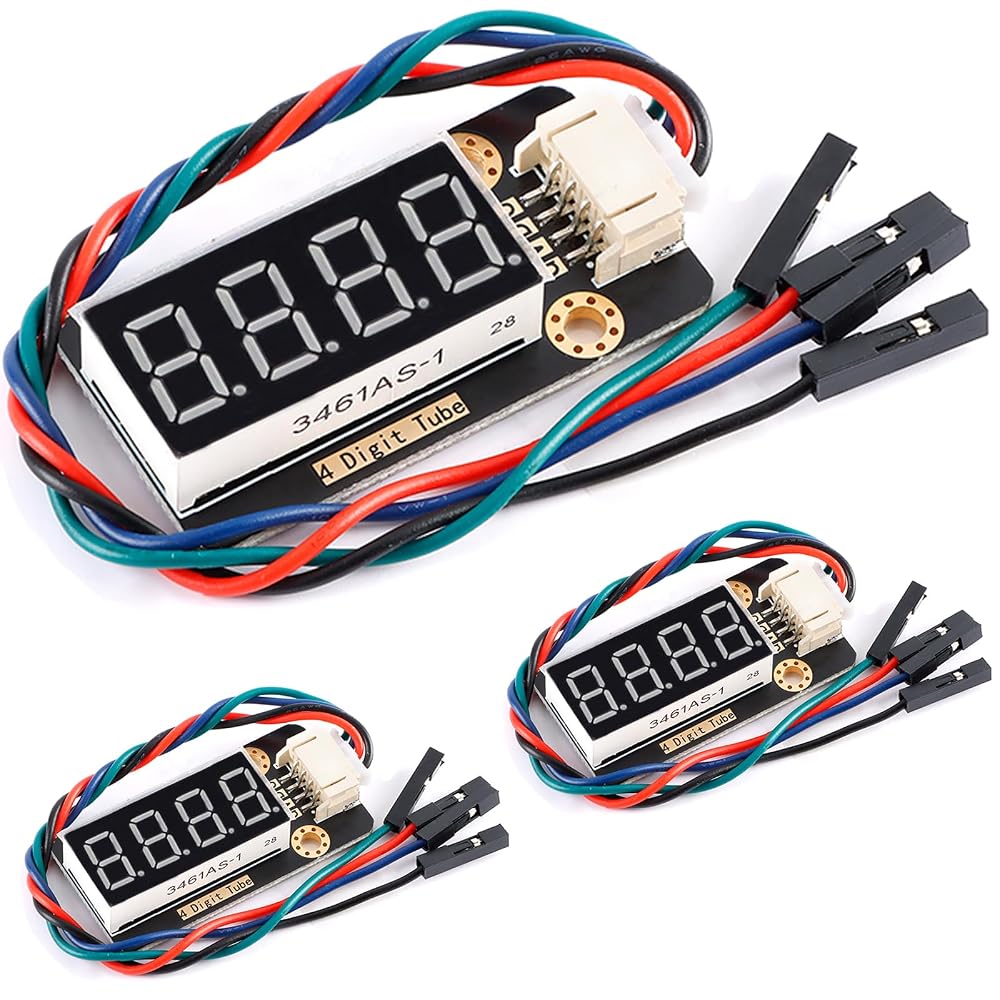
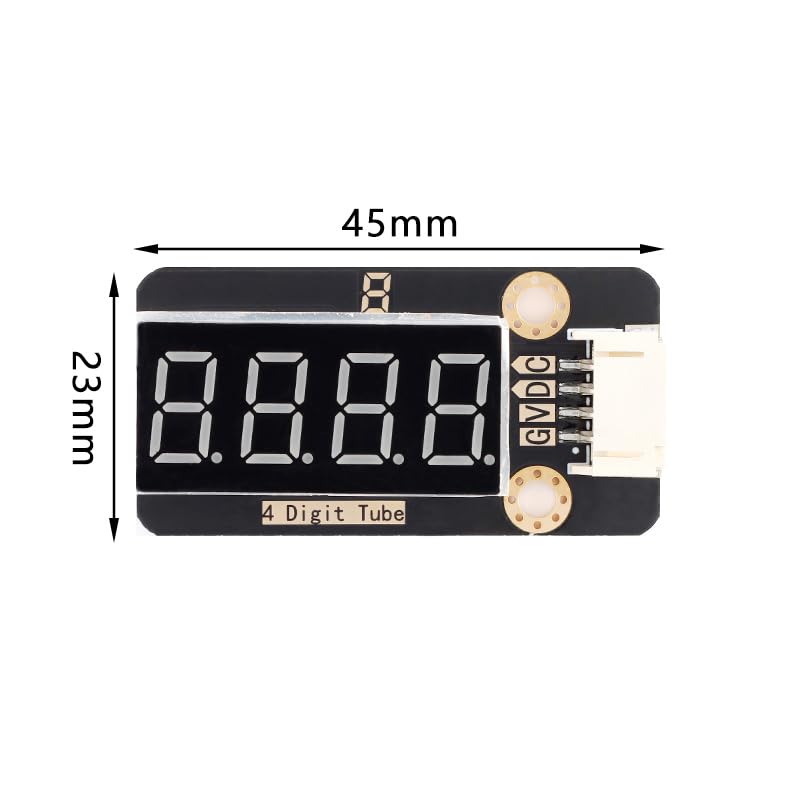
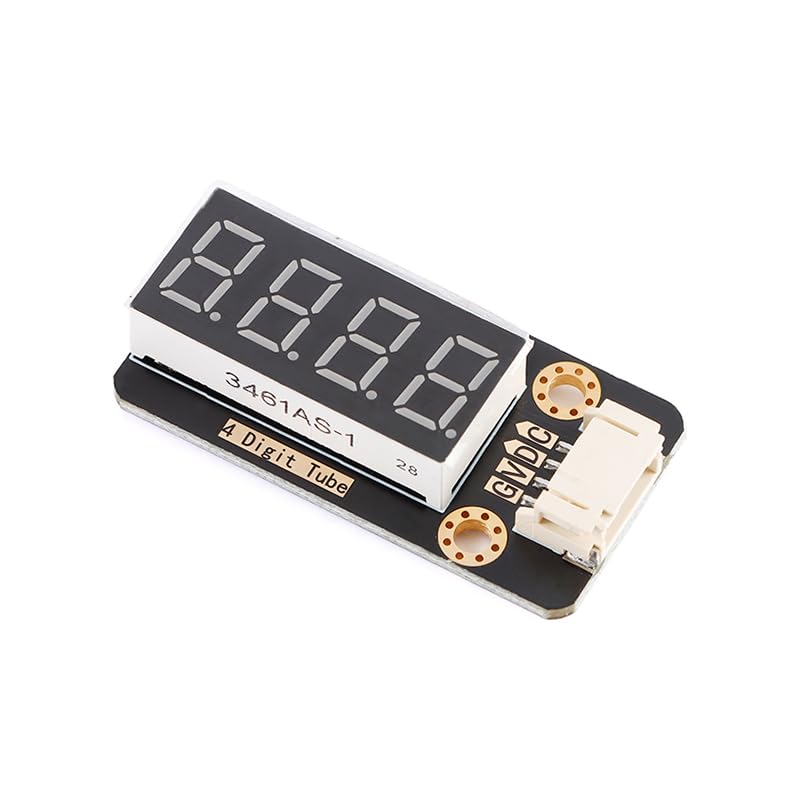
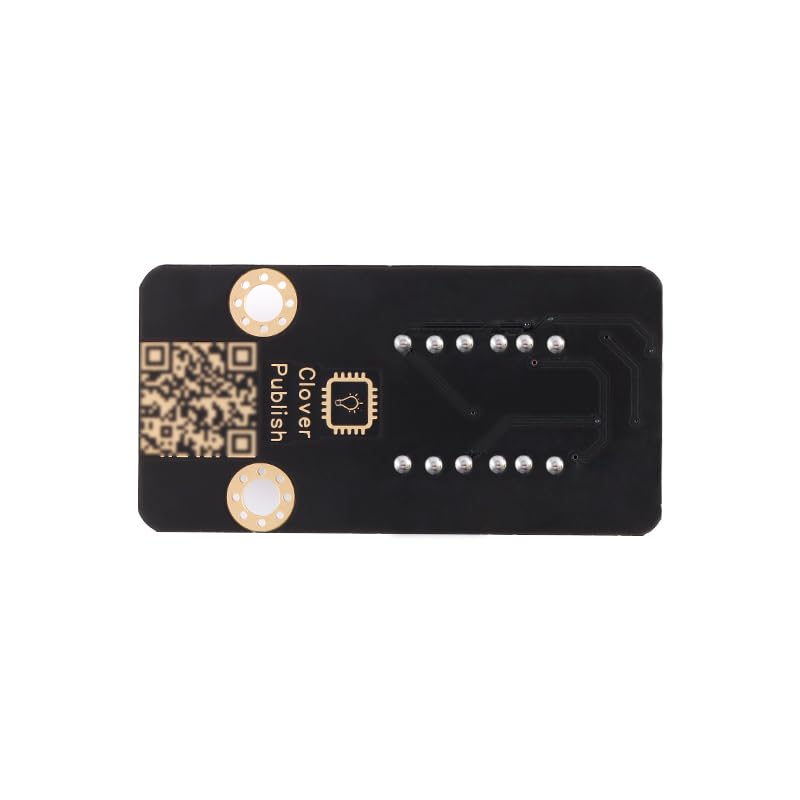
【Ultra-Bright Display for Outdoor Use】 This 4-digit, 0.36-inch common-negative digital tube module delivers exceptional brightness with a segment drive current of ≥25mA and a bit drive current of ≥150mA, making it Suitable for outdoor equipment or high-light.
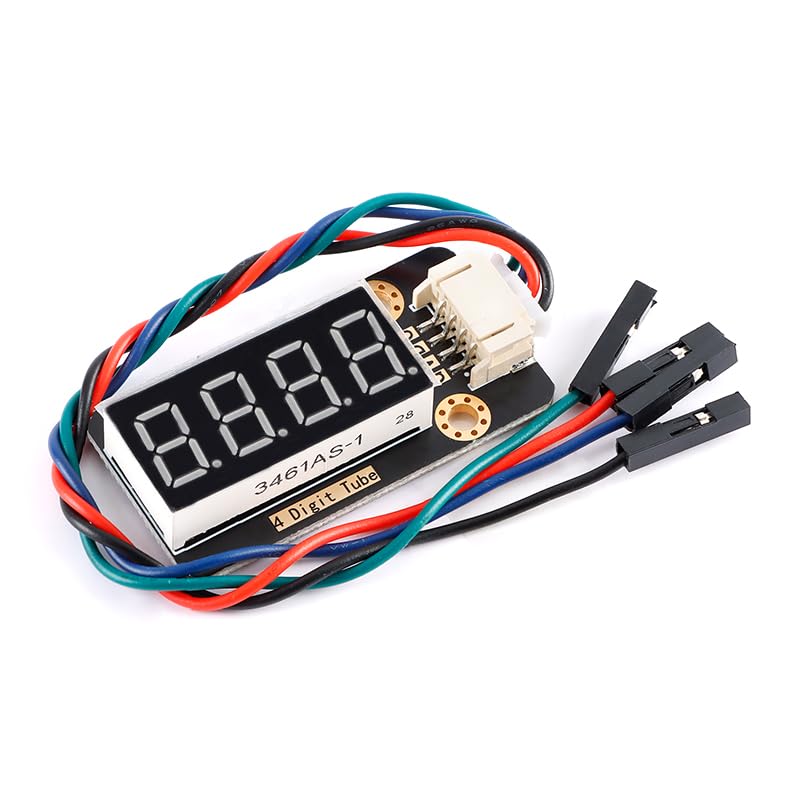
【Effortless Integration with I²C Interface】 Featuring the advanced TM1650 driver chip, this module requires only four wires (V/G/D/C) for integration via the I²C interface. Compared to traditional digital tubes that require over 12 pins, this innovative design saves up to 89% of GPIO resources, allowing for more efficient circuit layouts. Suitable for projects where space is limited!
【Customizable Brightness & Keyboard Scanning】 With eight levels of brightness adjustment and a built-in keyboard scanning interface (customizable upon request), this module offers flexibility. Adjust the display intensity to suit your specific needs, whether you're creating a sleek dashboard or a user-friendly control panel. The TM1650 chip handles both display and input tasks effortlessly.
【Suitable Design for Long-Term Use】 Built with durability in mind, this module features a compact 12-pin package with mounting holes measuring 3mm. Its PH2.0-4P socket ensures secure connections while preventing reverse polarity issues.
【Plug-and-Play Simplicity】 Installation easier. Simply connect the V/G/D/C pins to your microcontroller using the standard I²C protocol, and you're ready to go. No complicated wiring or extensive programming required—just plug it in and watch your project come alive.


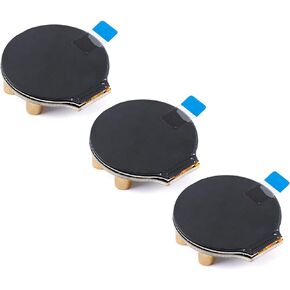 -6%
3Pcs 1.28 Inch TFT LCD Display Module Round GC9A01 Driver IPS LCD Screen Module Circular 4 Wire SPI Interface for Arduino
SAR 99
-6%
3Pcs 1.28 Inch TFT LCD Display Module Round GC9A01 Driver IPS LCD Screen Module Circular 4 Wire SPI Interface for Arduino
SAR 99
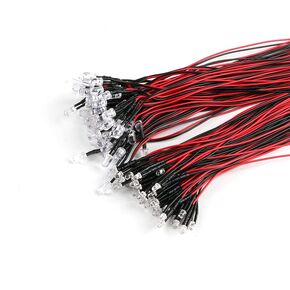 JESSINIE 50Pcs 3mm Light Emitting Diodes LED Bead with Wire Decorative Toy Car Indicator Light DC 5V~12V White Light 3mm
SAR 47
JESSINIE 50Pcs 3mm Light Emitting Diodes LED Bead with Wire Decorative Toy Car Indicator Light DC 5V~12V White Light 3mm
SAR 47
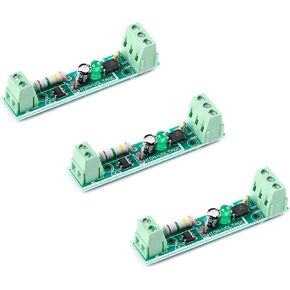 3Pcs 1Channel AC 220V Optocoupler Module 220V Voltage Detect 220V Optocoupler Isolation Microcontroller TTL Level 3V-5V
SAR 52
3Pcs 1Channel AC 220V Optocoupler Module 220V Voltage Detect 220V Optocoupler Isolation Microcontroller TTL Level 3V-5V
SAR 52
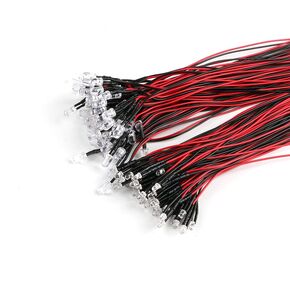 3mm LED Diode 12 Volt LED Lights with 20cm Wire for Signal Indication, Toy Cars, Mini LED Lights 5-12V,100000 Hours Lifespan Orange Flash 50PCS
SAR 52
3mm LED Diode 12 Volt LED Lights with 20cm Wire for Signal Indication, Toy Cars, Mini LED Lights 5-12V,100000 Hours Lifespan Orange Flash 50PCS
SAR 52