- Shopping, made easy.
- /
- Get the app!
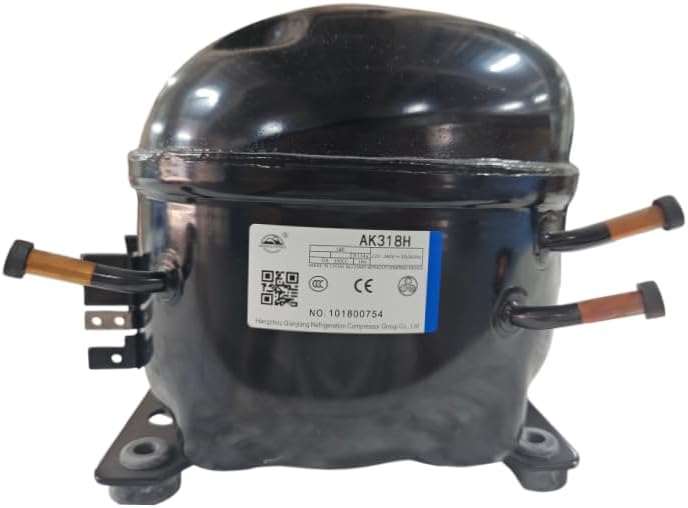
Warning: This compressor must be replaced by a trained technician only. Never attempt DIY replacement – it involves handling refrigerant (recovery and charging), which requires specialized equipment and certification. ⚠️ Critical additional notes (do not skip) Low‑pressure side leak test – Regardless of whether refrigerant is present, you must separately pressurize the low‑pressure side only to 1.5–1.8 MPa and hold for 24 hours to ensure no leaks. Failure to do so will damage the new compressor again. Do NOT pressurize the entire unit together, nor combine low‑pressure and high‑pressure lines during this test. Always test first, then braze. Refrigerant charging – Use the exact amount specified on the nameplate. Evacuate for at least 40 minutes (deep vacuum). Charge the full amount at one time before starting the compressor. Do not wait until the compressor is running to add refrigerant. Forbidden operation – Never braze only one pipe (e.g., the high‑pressure line) to test discharge pressure. This can cause the compressor to lock (seize) because the system is closed. If only the high‑pressure side is brazed, the compressor will draw in excess air and moisture, leading to valve plate carbon deposits and damage to the discharge system.
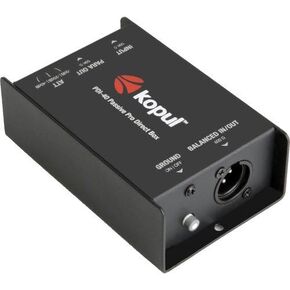 Kopul High-Performance Passive Direct Box
SAR 131
Kopul High-Performance Passive Direct Box
SAR 131
 CES-A-ABA-01 CG Chips GATE EUCHNER CES-A-ABA-01 / CESAABA01
SAR 2,787
CES-A-ABA-01 CG Chips GATE EUCHNER CES-A-ABA-01 / CESAABA01
SAR 2,787
 3-Pin Power Plug for Audiocontrol Epicenter Line Driver Matrix 3XS 2XS 6XS EQS DQL-8 Rockford FOSGATE 3SIXTY EPX2 OEQ2 PA2 RFQ Symmetry PUNCH30 PS8 / ZAPCO Equalizer Line Driver EQ
SAR 79
3-Pin Power Plug for Audiocontrol Epicenter Line Driver Matrix 3XS 2XS 6XS EQS DQL-8 Rockford FOSGATE 3SIXTY EPX2 OEQ2 PA2 RFQ Symmetry PUNCH30 PS8 / ZAPCO Equalizer Line Driver EQ
SAR 79
 7/16"-14 x 1 1/4" Plow Bolts, No. 3 Head, Grade 5, Fully Threaded, Zinc Cr+3, 10 Pack
SAR 89
7/16"-14 x 1 1/4" Plow Bolts, No. 3 Head, Grade 5, Fully Threaded, Zinc Cr+3, 10 Pack
SAR 89