- Shopping, made easy.
- /
- Get the app!
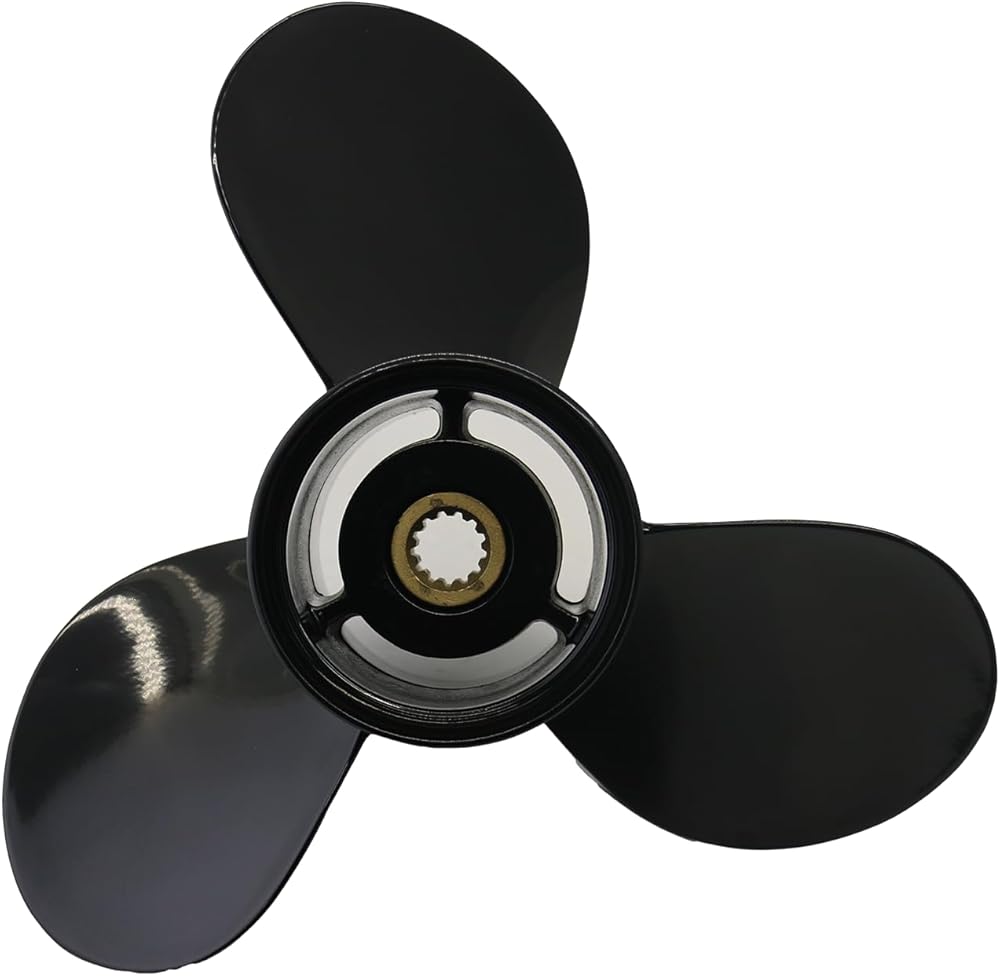
Engine Application:
4.25" Gearcase 40 / 50 / 60 HP,Evinrude E-TEC,2004-thru
45 HP Commercial,1986-thru
50 HP &; 50 HP Commercial,1971-1974
55 HP Commercial,1980-thru
60 HP,1970-1971 &; 1986-1996
65 HP &; 65 HP Commercial,1972-1973
70 HP,1974-2001
75 / 90 / 115 HP,Evinrude E-TEC,2004-thru
75 HP,1975-1984 &; 2004-thru
85 HP,1969-1980 &; 1991-1995
88 HP,1981-thru
90 HP,1981-thru
100 HP,1979-1980 &; 1988-thru
110 HP,1986-1989 112 HP 1994-96
115 &; 115 H.O.HP,1973-thru
120 HP,1986-1994
130 HP Evinrude E-TEC,2009-2010
125 HP,1971-1972
135 HP,1973-1976
140 HP,1977-1984 &; 1986-1994
Three-Step Verification for Correct Propeller Installation
1. Ensure Full Gear Engagement
Inspect the connection between the propeller hub and drive shaft. All gears must be fully engaged with the drive shaft splines, with no misalignment or exposed teeth (partially disengaged teeth indicate incomplete installation).
Gently shake the propeller assembly by hand; no noticeable play should be present. Lateral movement or a “clicking” sound may indicate gear misalignment or an under-tightened nut.
2. Nut Tightening Compliance
Refer to the torque specifications marked on the product. Nuts should neither be loose nor deformed due to excessive tightening.
If installation washers are required, ensure they are not misaligned or wrinkled, as this may cause leakage and allow water ingress into the drive shaft.
3. Propeller Alignment and Symmetry
Rotate the propeller through a full revolution. Blades should not “rub against the hull” or exhibit “stuttering” (resistance during rotation indicates potential installation angle deviation requiring readjustment).
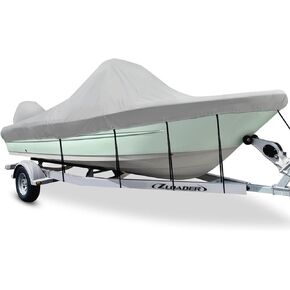 Center Console Boat Cover 16-18.5ft Waterproof 1200D Boat Cover Center Console Heavy Duty Center Console Boat Covers for Center Console Boat 16ft 17ft 18.5ft, Marine Grade Canvas, Gray
SAR 647
Center Console Boat Cover 16-18.5ft Waterproof 1200D Boat Cover Center Console Heavy Duty Center Console Boat Covers for Center Console Boat 16ft 17ft 18.5ft, Marine Grade Canvas, Gray
SAR 647
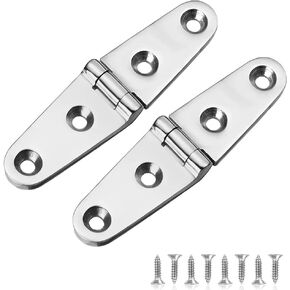 Marine Boat Strap Hinges Stainless Steel, 6 inch x 1.18 inch(152 x 30mm), No Noise, Durable, 316 Stainless Steel with Screws (4 PCS)
SAR 75
Marine Boat Strap Hinges Stainless Steel, 6 inch x 1.18 inch(152 x 30mm), No Noise, Durable, 316 Stainless Steel with Screws (4 PCS)
SAR 75
 Zig Zag Cleat, Lace Back Design Multi-Purpose Fishing Boat Accessories Cleat for Kayak, Durable Canoe for Trucks Kayak Trailers
SAR 47
Zig Zag Cleat, Lace Back Design Multi-Purpose Fishing Boat Accessories Cleat for Kayak, Durable Canoe for Trucks Kayak Trailers
SAR 47
 Boat Hook Attachment Premium Durable Black Nylon Mooring Marine Boat Kayak Raft Dinghy Hook Head Replacement Top Attachment for 1'' Pipe or Tube
SAR 40
Boat Hook Attachment Premium Durable Black Nylon Mooring Marine Boat Kayak Raft Dinghy Hook Head Replacement Top Attachment for 1'' Pipe or Tube
SAR 40