- Shopping, made easy.
- /
- Get the app!
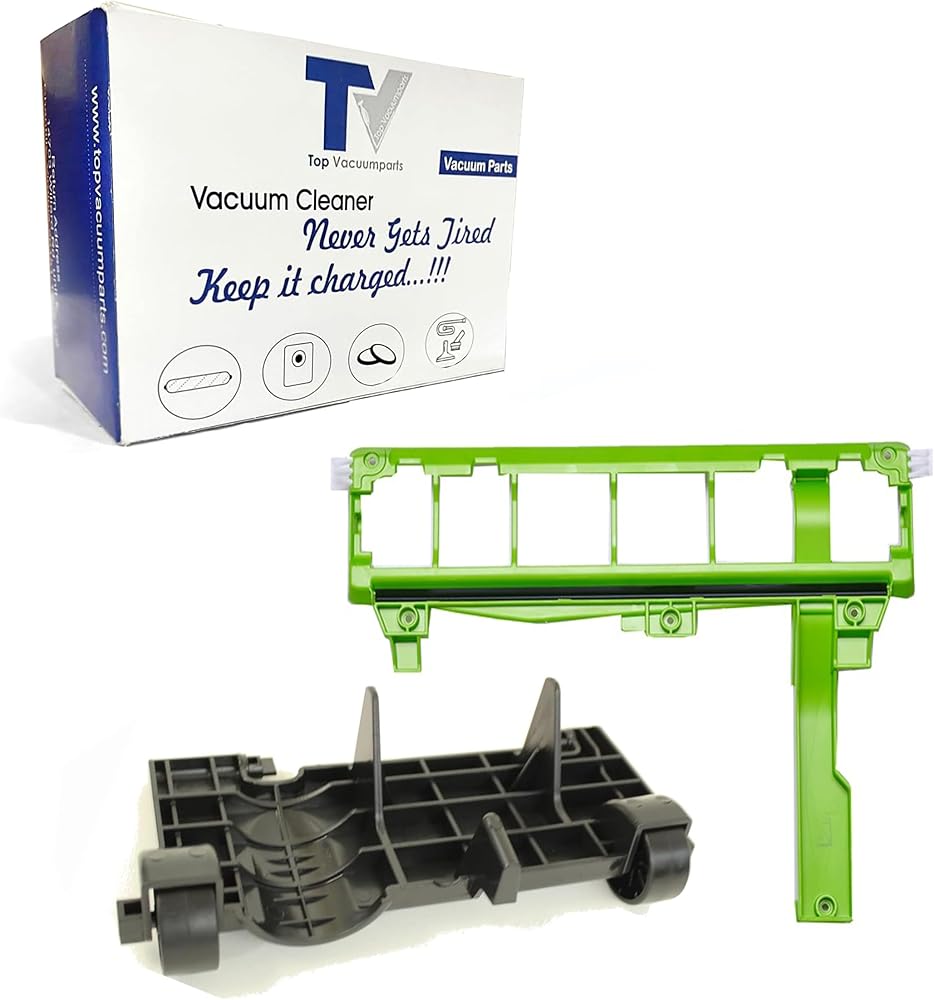
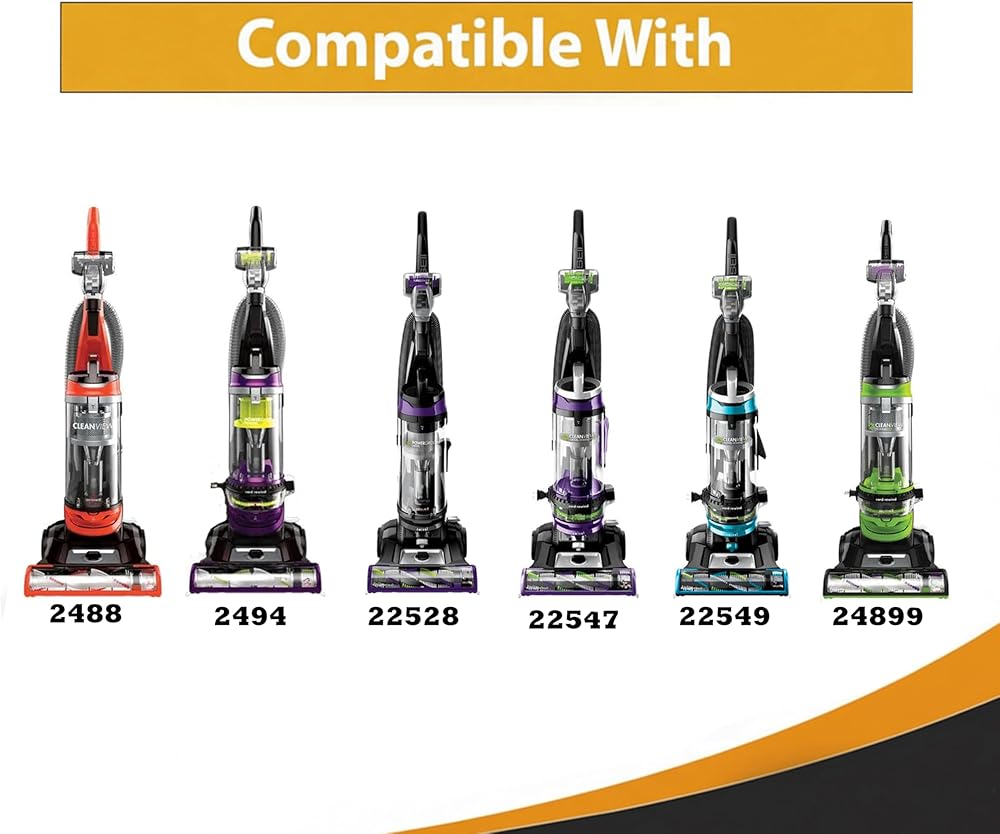
✅Compatible with: 2256, 2254, 22543, 22548, 2255, 2739, 2256K, 2258, 22582, 2259, 1830, 2260, 2253, 22547, 22549, 2316, 2252, 2488, 2486, 2487, 2492, 2494, 24899, 22528
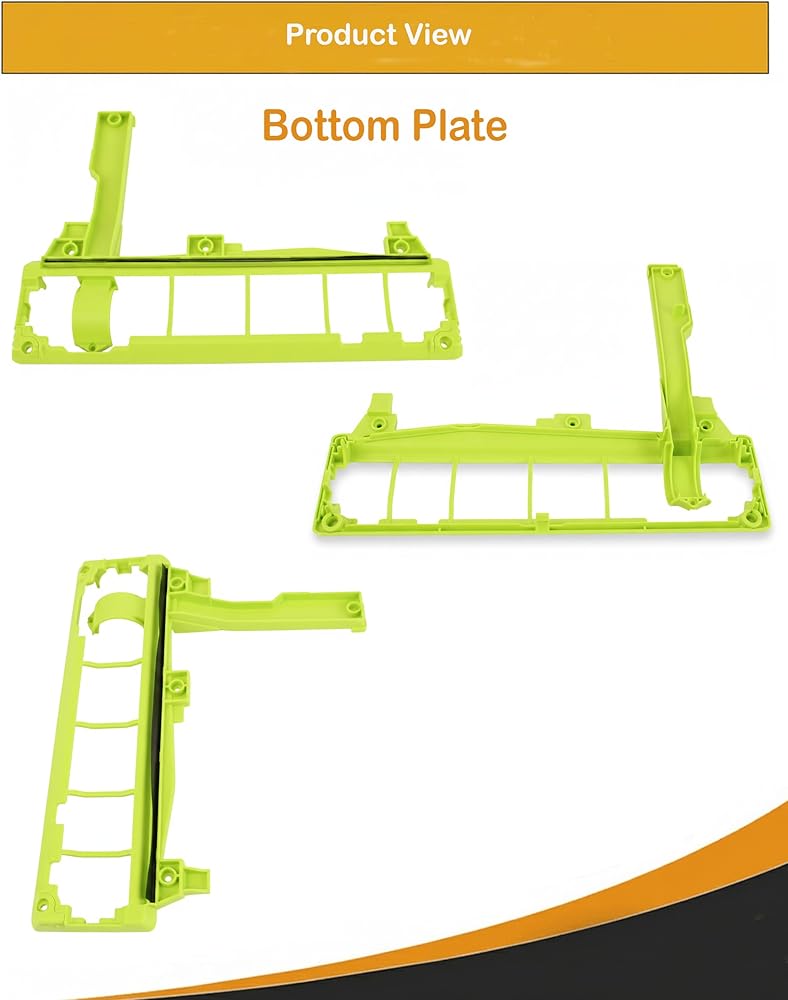
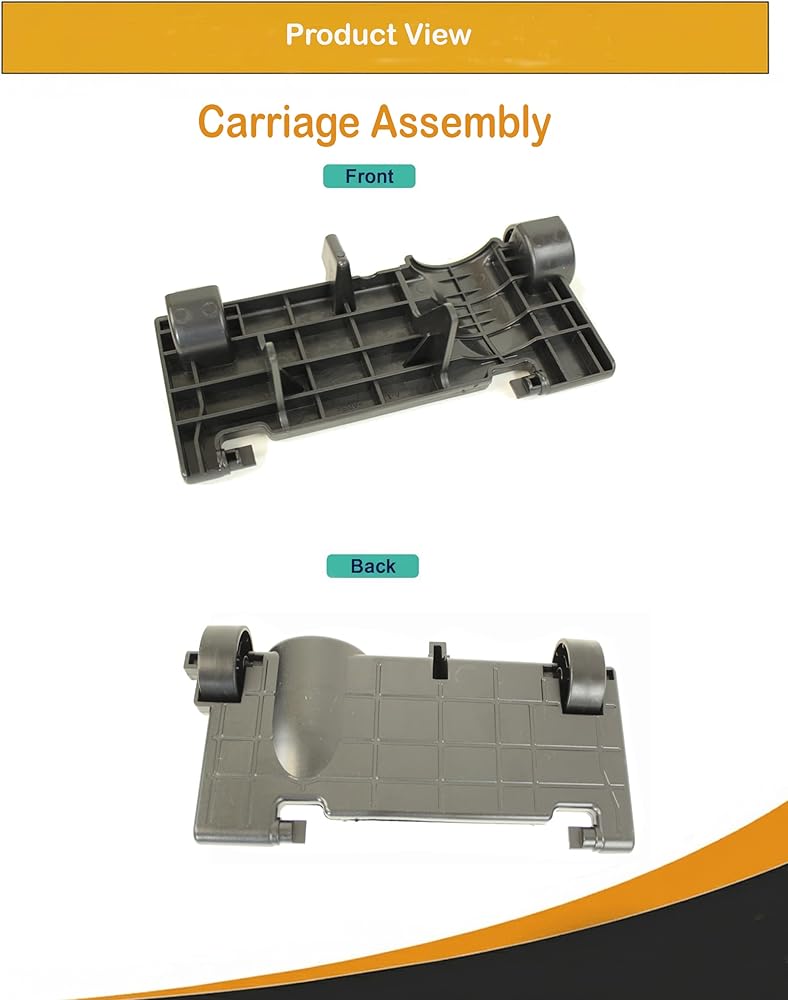
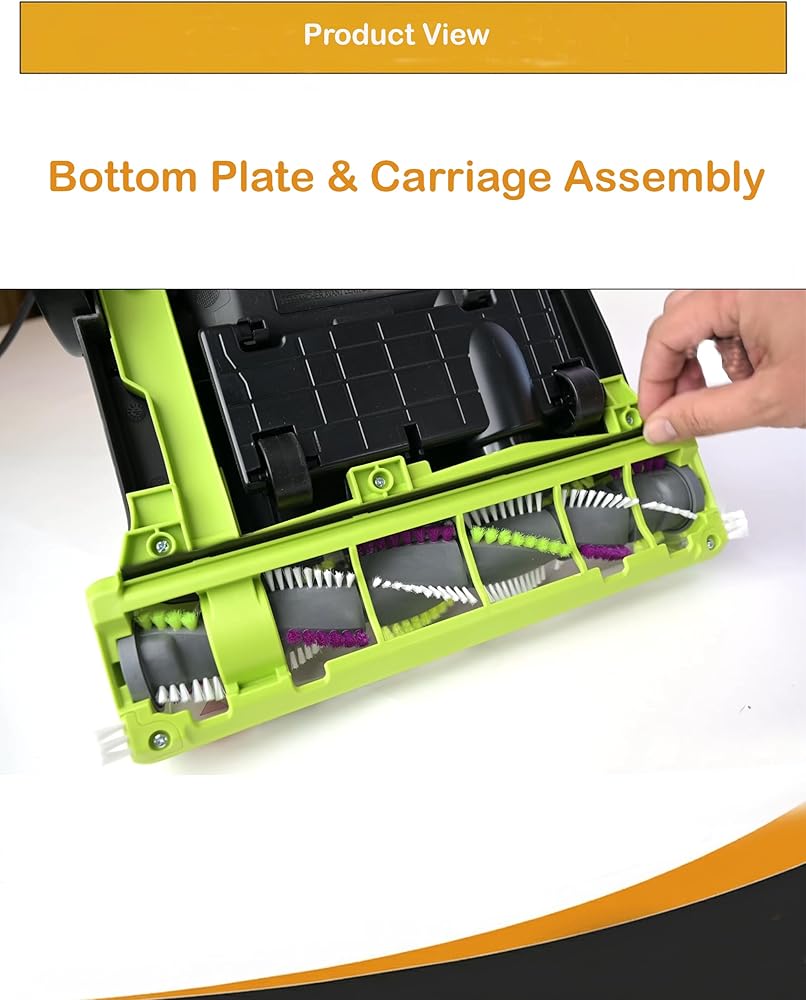
✅Package Included:1 Carriage Assembly and 1 Bottom Plate
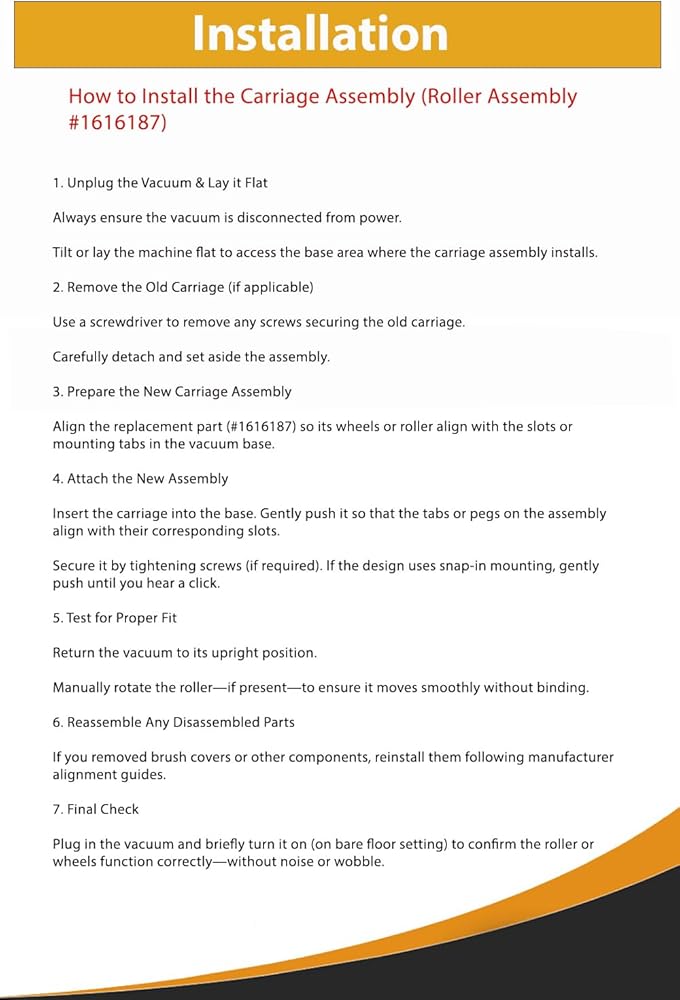
How to Install the Carriage Assembly (Roller Assembly #1616187)
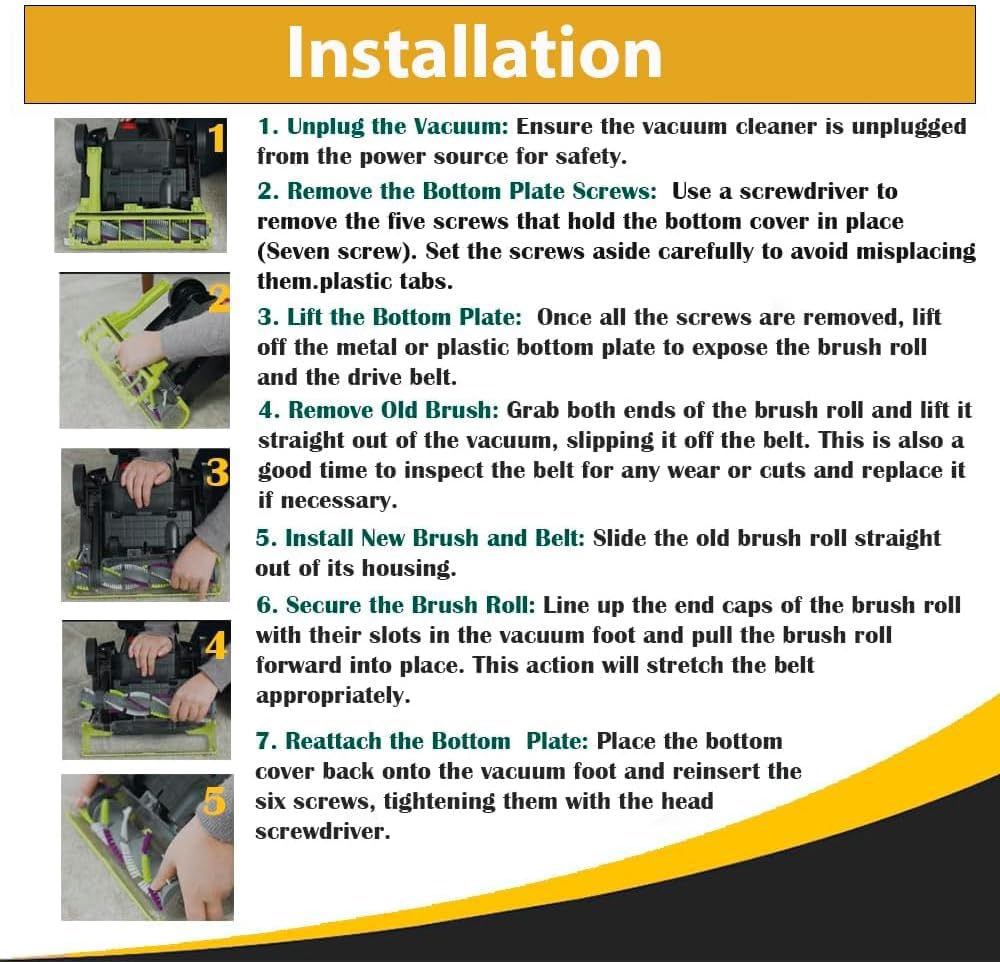
1. Unplug the Vacuum & Lay it Flat Always ensure the vacuum is disconnected from power. Tilt or lay the machine flat to access the base area where the carriage assembly installs.
2. Remove the Old Carriage (if applicable) Use a Phillips screwdriver to remove any screws securing the old carriage. Carefully detach and set aside the assembly.
3. Prepare the New Carriage Assembly Align the replacement part (#1616187) so its wheels or roller align with the slots or mounting tabs in the vacuum base.
4. Attach the New Assembly Insert the carriage into the base. Gently push it so that the tabs or pegs on the assembly align with their corresponding slots. Secure it by tightening screws (if required). If the design uses snap-in mounting, gently push until you hear a click.
5. Test for Proper Fit Return the vacuum to its upright position. Manually rotate the roller—if present—to ensure it moves smoothly without binding.
6. Reassemble Any Disassembled Parts If you removed brush covers or other components, reinstall them following manufacturer's alignment guides.
7. Final Check Plug in the vacuum and briefly turn it on (on bare floor setting) to confirm the roller or wheels function correctly—without noise or wobble.
 -15%
Replacement Part for Bissell Vacuum Flat Belt for Fit 88523, 88524, 1887, 18872, 1887L, 1887T, 8852, 1200R, 1210, 12108, 88522, 8852R, 8852T, 9585# Compare to Part 1601543
SAR 35
-15%
Replacement Part for Bissell Vacuum Flat Belt for Fit 88523, 88524, 1887, 18872, 1887L, 1887T, 8852, 1200R, 1210, 12108, 88522, 8852R, 8852T, 9585# Compare to Part 1601543
SAR 35
 Replacement Part for Hoover T-Series Flat Non-Stretch Belt Part 3pk,Style 65 Printed on Belt MS 12.8x457# Compare to Part AH20065, 562289001
SAR 73
Replacement Part for Hoover T-Series Flat Non-Stretch Belt Part 3pk,Style 65 Printed on Belt MS 12.8x457# Compare to Part AH20065, 562289001
SAR 73
 Replacement Part For Bissell 18P0, 43Z3 Garage Pro Vacuum Cleaner Secondary Filter # compare to part 2030165
SAR 50
Replacement Part For Bissell 18P0, 43Z3 Garage Pro Vacuum Cleaner Secondary Filter # compare to part 2030165
SAR 50
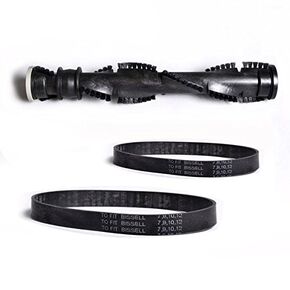 Replacement Part for Bissell Proforce Helix Upright Vacuum Cleaner Roller Brush with 2pk Style 7, 9, 10, 12, 14 Flat Belts, Fits Models 6582, 6579, 65793, 65823, 6582R, 6583, 65831
SAR 96
Replacement Part for Bissell Proforce Helix Upright Vacuum Cleaner Roller Brush with 2pk Style 7, 9, 10, 12, 14 Flat Belts, Fits Models 6582, 6579, 65793, 65823, 6582R, 6583, 65831
SAR 96