- Shopping, made easy.
- /
- Get the app!
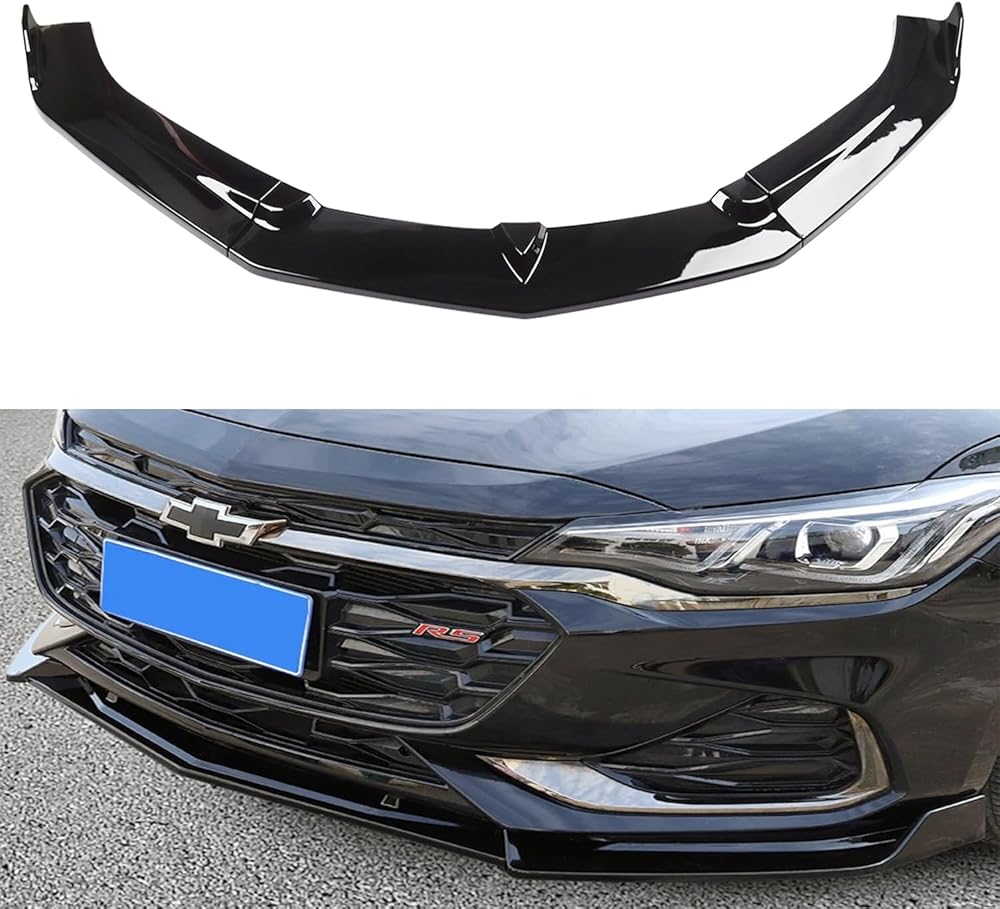


Fitment:
Chevy SS Base Sedan 4-Door 2016-2017
Chevy Camaro SS Coupe 2-Door 2016-2021
Chevy Camaro SS Convertible 2-Door 2016-2021
Chevy Camaro RS Coupe 2-Door 2016-2019
Chevy Camaro LT Coupe 2-Door2016-2021
Chevy Camaro LT Convertible 2-Door 2016-2021
Chevy Camaro ZL1 Coupe 2-Door 2017-2021
Chevy Camaro ZL1 Convertible 2-Door 2017-2021
Item specifics:
Material: High Quality ABS
Color: Gloss black
Type: Front Bumper Lip Body Kit Spoiler
Placement on Vehicle: Front,Lower
Fitment Type: Direct Replacement
INSTALLATION GUIDE
STEP 1: Check the item and accessories in the package, and clean the mounting positions with alcohol.
STEP 2: Rise the car with lift, hold the front lip and let it align with the front bumper
STEP 3: Put the front lip to the best location and press it tightly with self-adhesive tape.
STEP 4: If there are preformed holes on the front lip, hold it and aim at the preformed holes on the bottom of the front lip with electric hand drill and start drilling.
STEP 5: Fix the front lip with self-tapping screws through the holes, and ensure the screws are tightened. Use the same way to drill both sides and tighten the screws.
 Front Left Steering Knuckle 698-137 for 2005-2014 Subaru Forester Impreza Legacy Outback WRX STI XV Corsstrek Replaces 28313AG010, 28313AG03B
SAR 107
Front Left Steering Knuckle 698-137 for 2005-2014 Subaru Forester Impreza Legacy Outback WRX STI XV Corsstrek Replaces 28313AG010, 28313AG03B
SAR 107
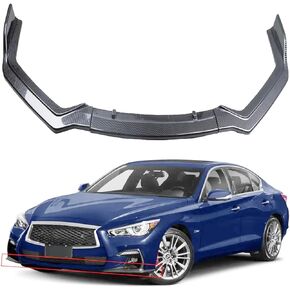 3pcs New Front Bumper Lip Compatible with Infiniti Q50 2018 2019 2020 2021 2022 Car Front Lip Spoiler-Carbon Fiber Look Sport Front Spoiler
SAR 339
3pcs New Front Bumper Lip Compatible with Infiniti Q50 2018 2019 2020 2021 2022 Car Front Lip Spoiler-Carbon Fiber Look Sport Front Spoiler
SAR 339
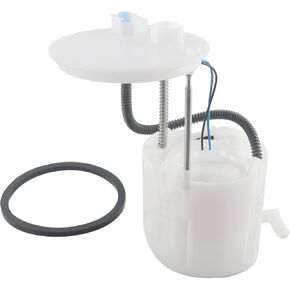 New fuel pump assembly with sending unit FG1283 for To-yota RAV4 2009 2010 2011 2012 2013 2014 2015 2016 2017 2018 L4 2.5L
SAR 279
New fuel pump assembly with sending unit FG1283 for To-yota RAV4 2009 2010 2011 2012 2013 2014 2015 2016 2017 2018 L4 2.5L
SAR 279
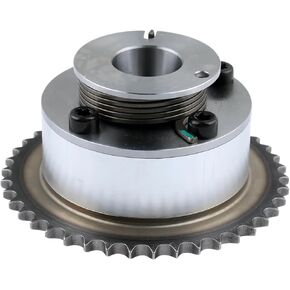 1Pcs VVT Gear 24370-2E020 Exhaust VVT Gear Adjusters Applied for Hyundai Elantra14-2020 Kia 2.0L 1.8L 2017-20 Camshaft Gear Sprocket Camshaft Adjusters Actuator
SAR 199
1Pcs VVT Gear 24370-2E020 Exhaust VVT Gear Adjusters Applied for Hyundai Elantra14-2020 Kia 2.0L 1.8L 2017-20 Camshaft Gear Sprocket Camshaft Adjusters Actuator
SAR 199