- التسوق ، اصبح سهلا.
- /
- احصل على التطبيق!
Please confirm your the year and model before purchasing.
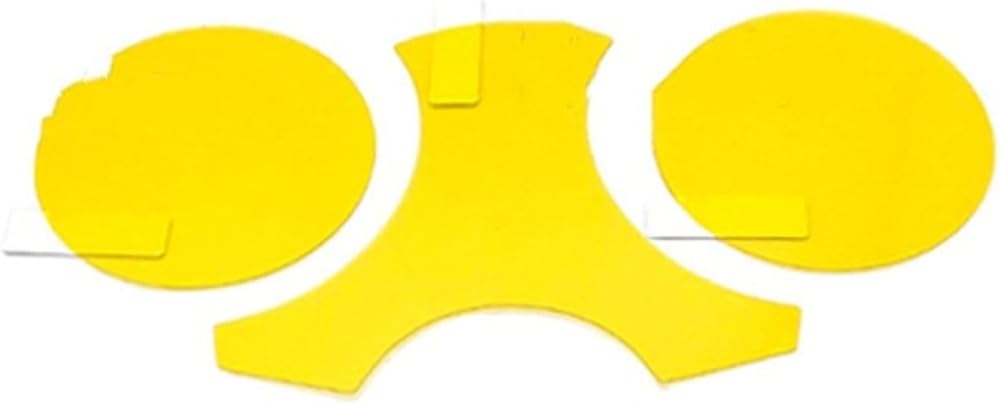
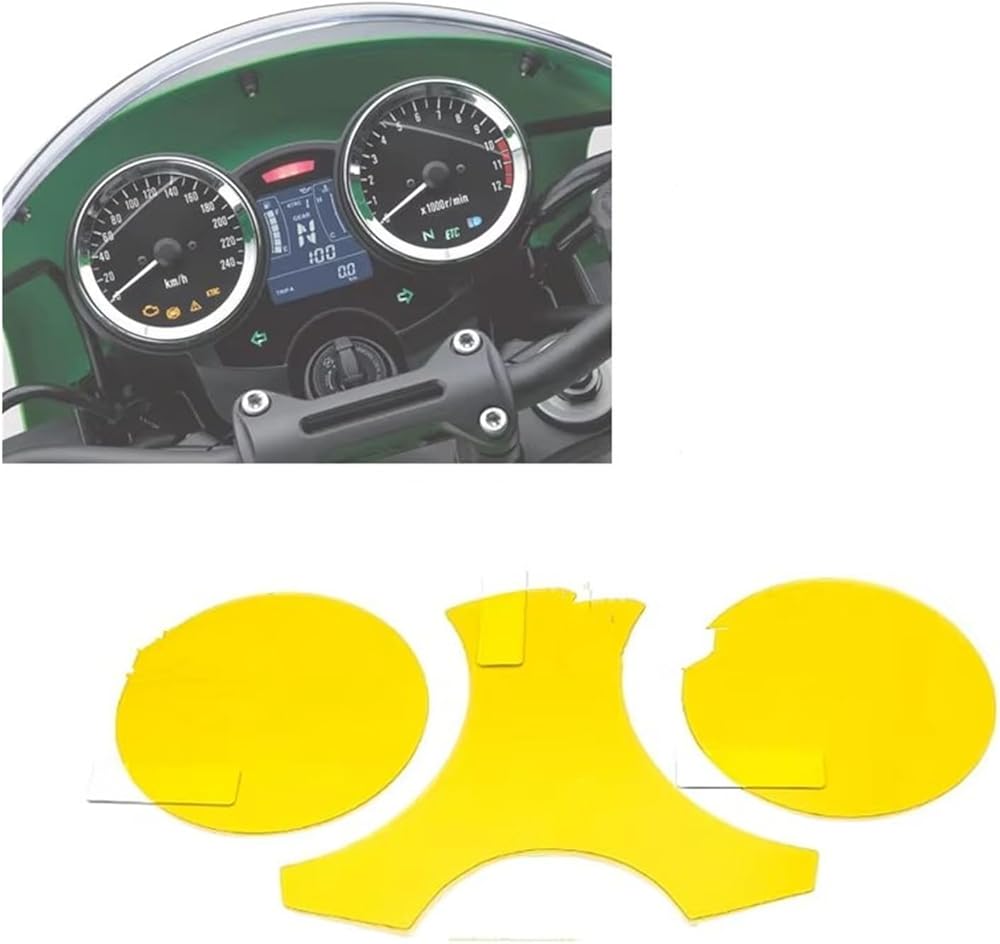
Motorcycle Cluster Scratch Protection Screen Accessories
Description;
For Z900RS For Z-900 For 900RS 2017-2023
Protection Screen
Quantity: 1 SETS In Package
Colour: As Shown
Material: (TPU
Protective Function: Comprehensive defence against scratches, , fingerprints and daily wear on the instrument panel, whilst maintaining visibility.
Complete Kit: Includes screen , removal sticker, cleaning cloth and professional installation tools.
Crystal-Clear Transparency: High-transparency fully preserves the instrument panel's original display brightness and touch sensitivity.
Installation steps:
1: Wipe the dashboard screen with a microfibre cloth to and ;
2: Peel off the backing (ensure the transparent backing does not cover the protective )
3: After fully removing the backing , thoroughly spray water onto the adhesive surface. Press buttons or activate the dashboard lighting, then gently position the over the screen
4: Use the squeegee to press out water and bubbles, eliminating all moisture and air pockets as thoroughly as possible
5: Peel off the adhesive backing layer. (Ensure the remains aligned and no adhesive residue appears at the )
6: Use the squeegee to eliminate any remaining bubbles and moisture to complete installation. Minor bubbles are normal due to manual application.
Should you have any queries, please do not hesitate to contact us by email. We shall endeavour to respond to you as promptly as possible.
 شاشة عداد السرعة للحماية من الخدوش العنقودية للدراجات النارية لـ Z800 لـ Zr 800 لـ A & BS 2012-2018
SAR 235
شاشة عداد السرعة للحماية من الخدوش العنقودية للدراجات النارية لـ Z800 لـ Zr 800 لـ A & BS 2012-2018
SAR 235
 ملحقات الدراجة النارية أداة حماية لوحة القيادة لشاشة الخدش لـ x&adv 750 لـ CB1000R لـ Forza 750 2021(2 قطعة)
SAR 239
ملحقات الدراجة النارية أداة حماية لوحة القيادة لشاشة الخدش لـ x&adv 750 لـ CB1000R لـ Forza 750 2021(2 قطعة)
SAR 239
 دراجة نارية سكوتر العنقودية الصفر لحماية شاشة عداد السرعة ل Z650 ل Z900 ل Ninja650 ل Z100
SAR 235
دراجة نارية سكوتر العنقودية الصفر لحماية شاشة عداد السرعة ل Z650 ل Z900 ل Ninja650 ل Z100
SAR 235
 ل المتمردين ل CMX 1100 ل Rebel1100 2021 2022 العنقودية خدش متر لوحة القيادة غطاء الشاشة أداة (2 قطعة)
SAR 326
ل المتمردين ل CMX 1100 ل Rebel1100 2021 2022 العنقودية خدش متر لوحة القيادة غطاء الشاشة أداة (2 قطعة)
SAR 326