- Shopping, made easy.
- /
- Get the app!
Spec:
Item Type: For SSD Heatsink Thermal Pad
Material: Copper, Silicone
Heat Dissipation Copper Sheet Size: Approx. 26 x 23 x 0.5mm / 1.02 x 0.91 x 0.02in
Compatible Brands: For , For ROG ALL
Applicable Hard Disk: M.2 2230 NVME SSD
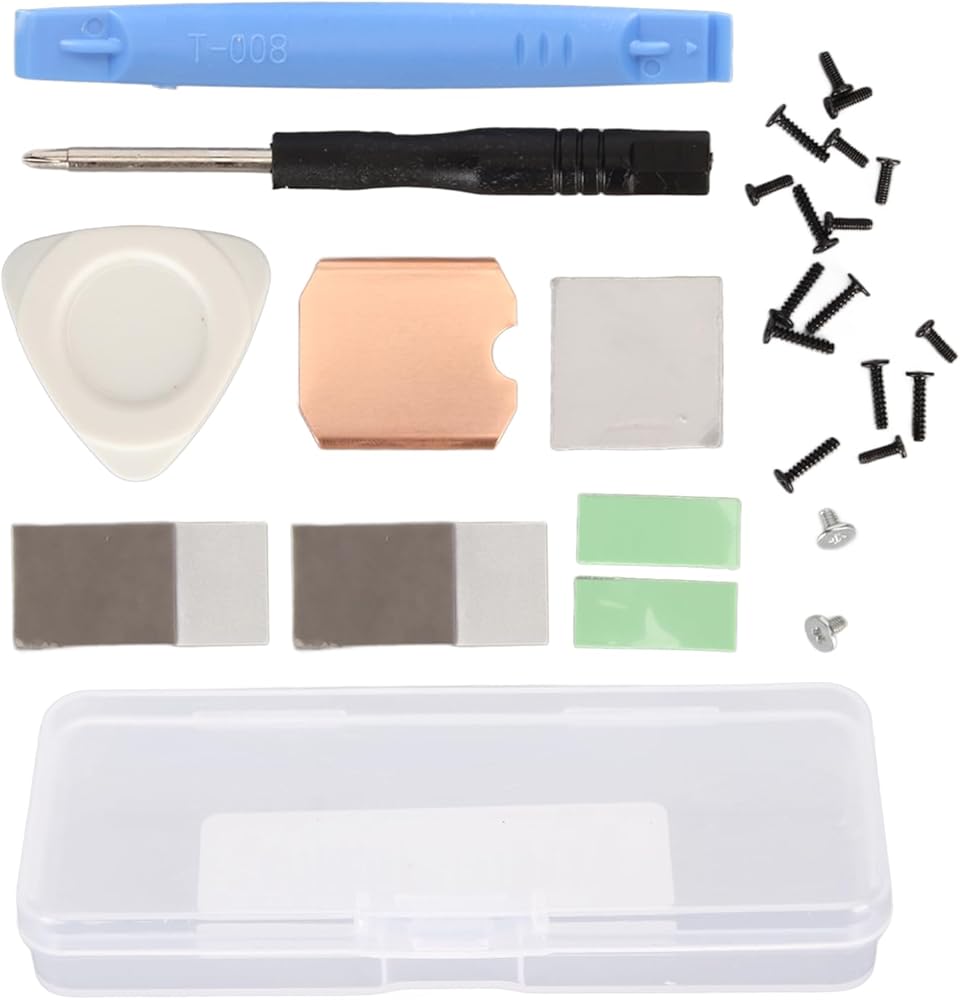
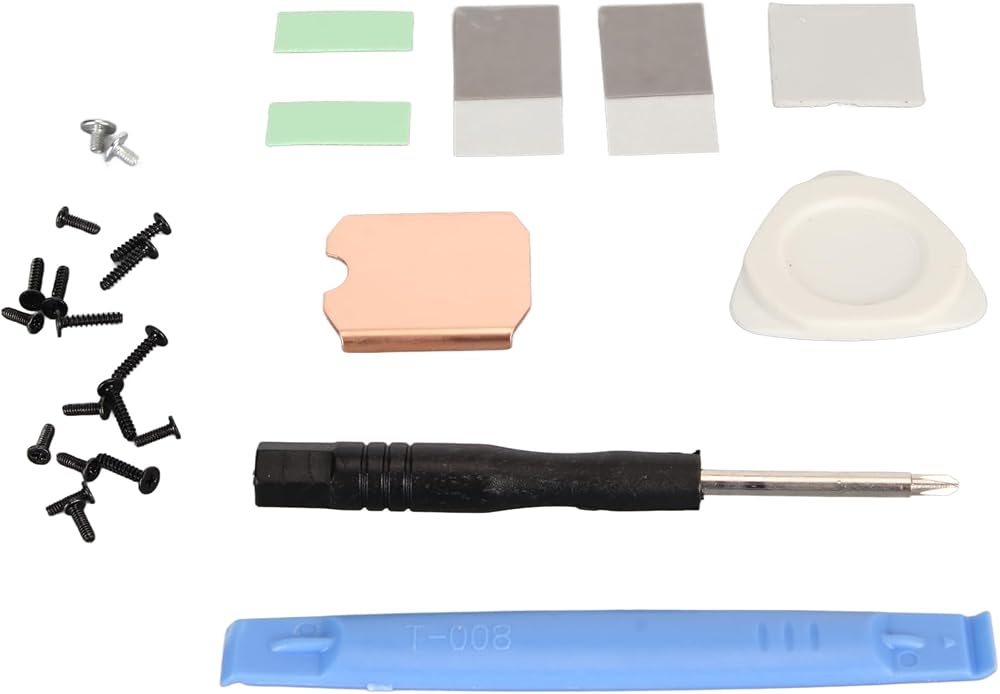
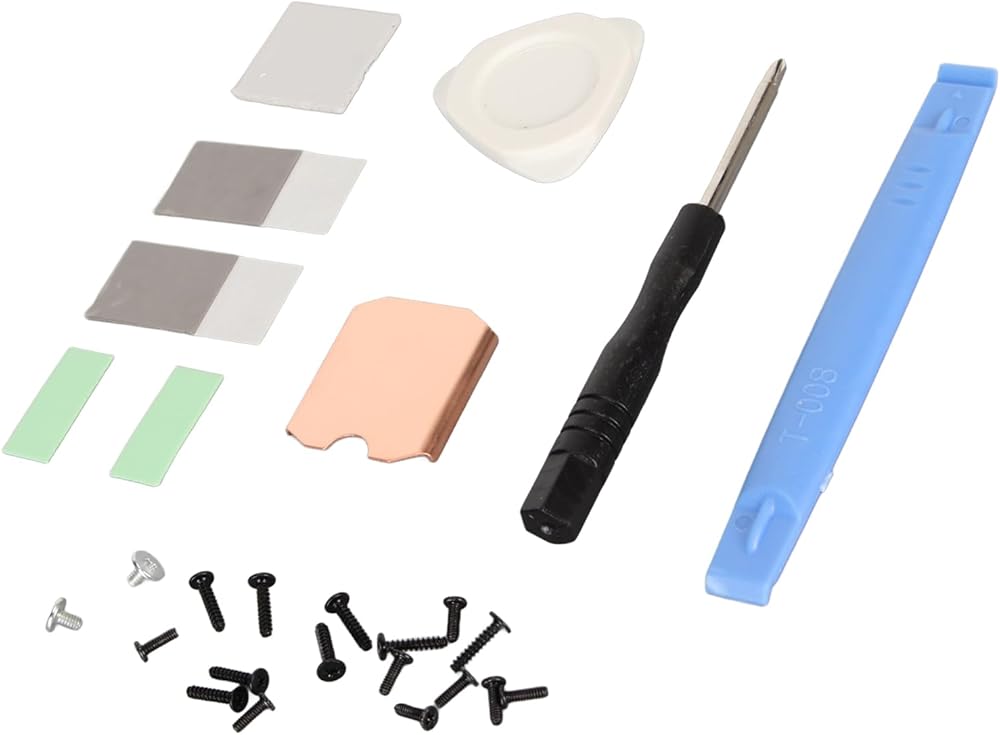
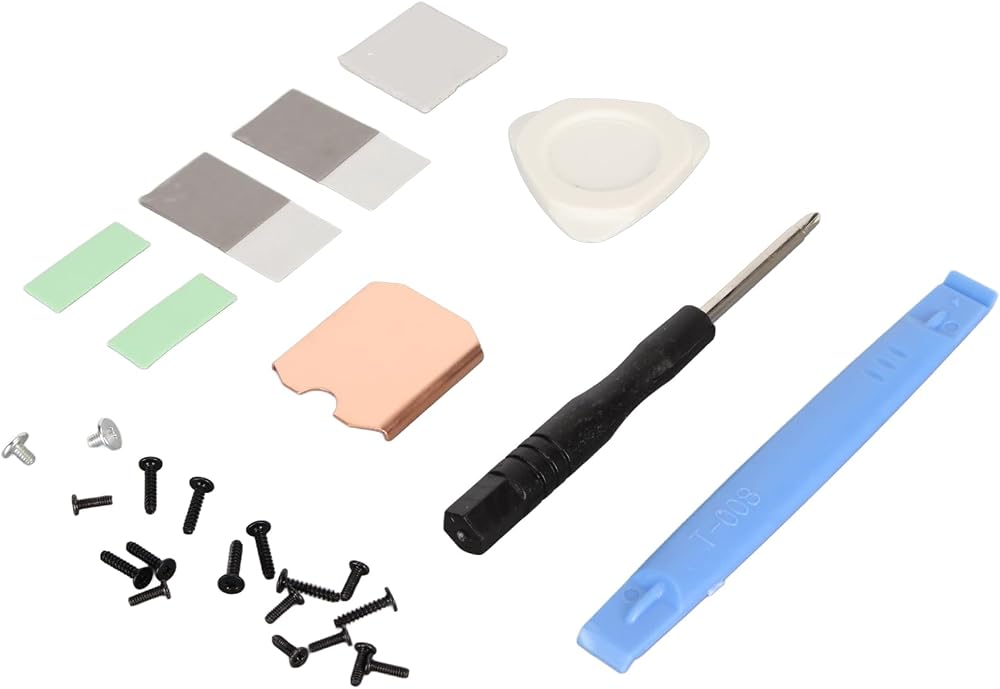
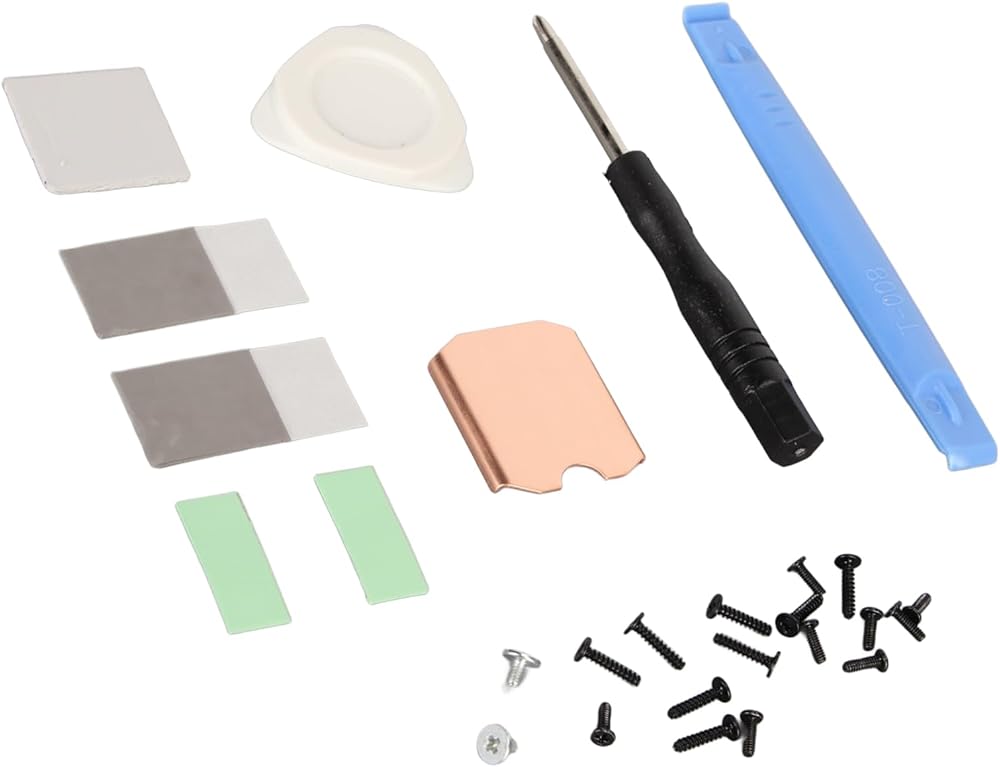
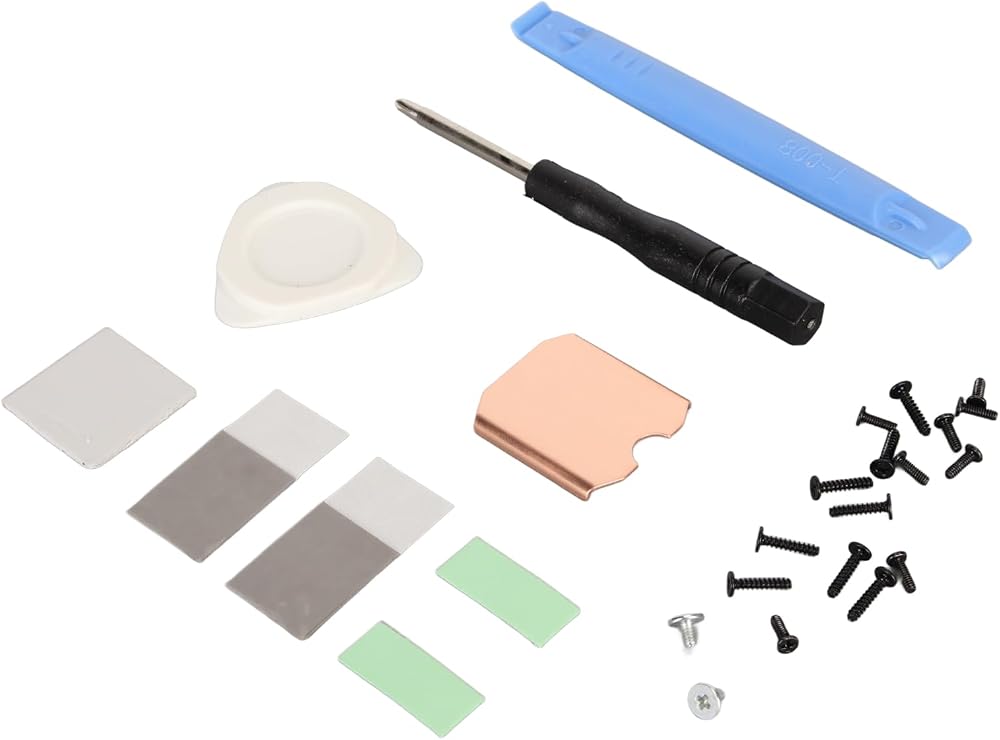
Package List:
1 x Copper Heat Sink
2 x Phase Change Thermal Pad
3 x Silicon Thermal Pad
1 x
1 x Open Pry Bar
1 x Triangle Pry Tool
18 x Screw
1 x Storage Box
How To Use:
Hard Disk Cooling Installation Tutorial:
1. Turn off the for . Before replacing the hard disk, turn off the for and unplug all cables.
2. Remove the eight screws on the back of the for . (1) Use a to unscrew the eight screws securing the back cover. Four 9.5mm / 0.37in screws and four 5.8mm / 0.23in screws.
3. Pry off the rear cover. (1) Insert a tab along the edge of the right‑hand handle into the between the back cover and the front housing.
4. Remove the protective plate. (1) Use a to unscrew the three screws securing the , one 3.4mm / 0.13in screw and two 3.7mm / 0.15in screws.
5. Remove the SSD. (1) Use a to unscrew the screws securing the SSD.
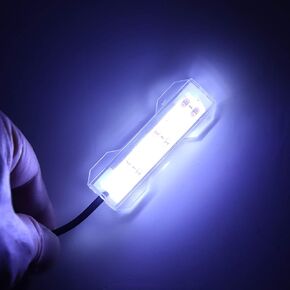 Estink LED Aquarium Light, Micro Landscape Light Desktop Fish Tank Decorative LED Light, USB Plug, LED Light Gives Soft Light in The Aquarium, 25g 6x2cm
SAR 39
Estink LED Aquarium Light, Micro Landscape Light Desktop Fish Tank Decorative LED Light, USB Plug, LED Light Gives Soft Light in The Aquarium, 25g 6x2cm
SAR 39
 Estink UA6013L Capacitance Meter, Test Range 0.1 pF to 20,000 uF, with LCD Display for Digital Analysis, Capacitor Selection, Unknown Capacitor Measurement
SAR 135
Estink UA6013L Capacitance Meter, Test Range 0.1 pF to 20,000 uF, with LCD Display for Digital Analysis, Capacitor Selection, Unknown Capacitor Measurement
SAR 135
 Estink Bed Air Valve, 3 in 1 Air Valve Secure Seal Cap Air Mattress Valve Cover Inflatable Air Valve Caps Screw Plugs Replacement for Inflatable Airbed Mattress with 45mm Holes, Black
SAR 41
Estink Bed Air Valve, 3 in 1 Air Valve Secure Seal Cap Air Mattress Valve Cover Inflatable Air Valve Caps Screw Plugs Replacement for Inflatable Airbed Mattress with 45mm Holes, Black
SAR 41
 -23%
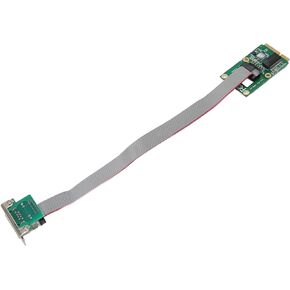
Mini PCIe Network Controller Card, PCI Express Ethernet Card with RJ45 LAN NIC Card, Gigabit Ethernet Card Support 10 100 1000M
SAR 76
-23%
Mini PCIe Network Controller Card, PCI Express Ethernet Card with RJ45 LAN NIC Card, Gigabit Ethernet Card Support 10 100 1000M
SAR 76