- التسوق ، اصبح سهلا.
- /
- احصل على التطبيق!
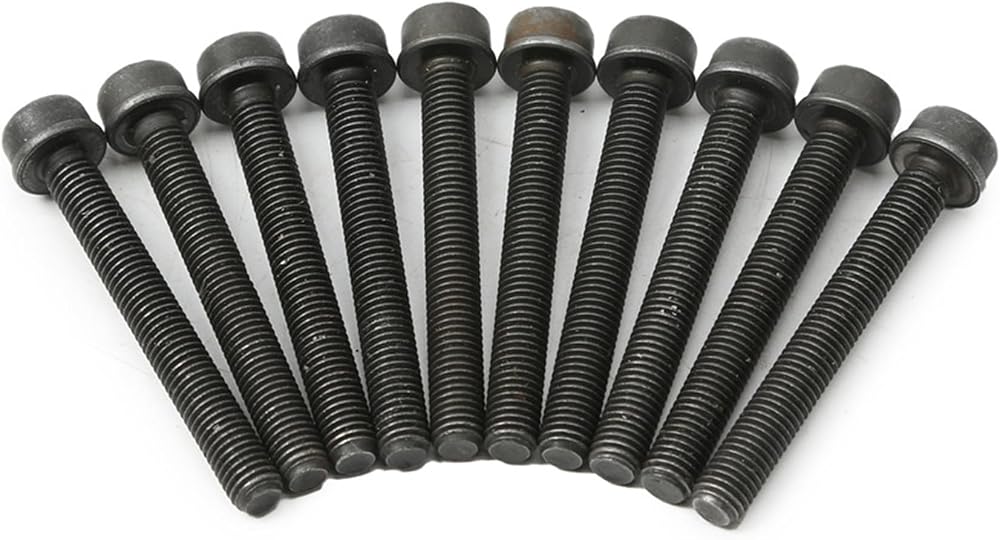
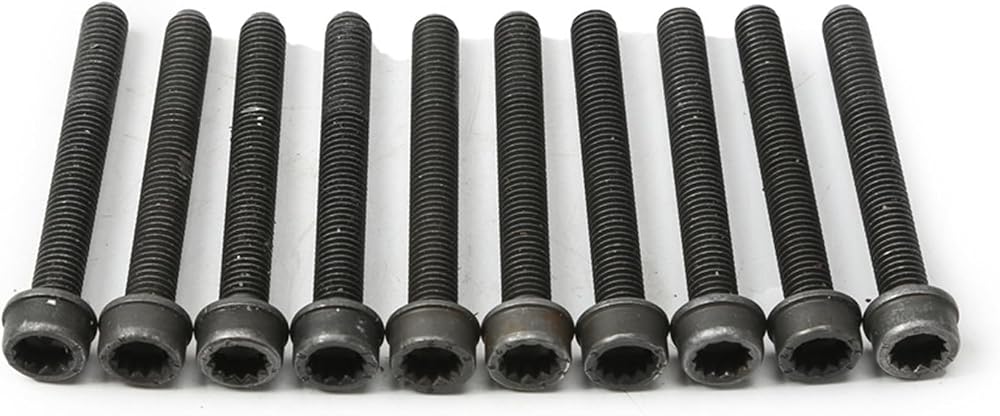
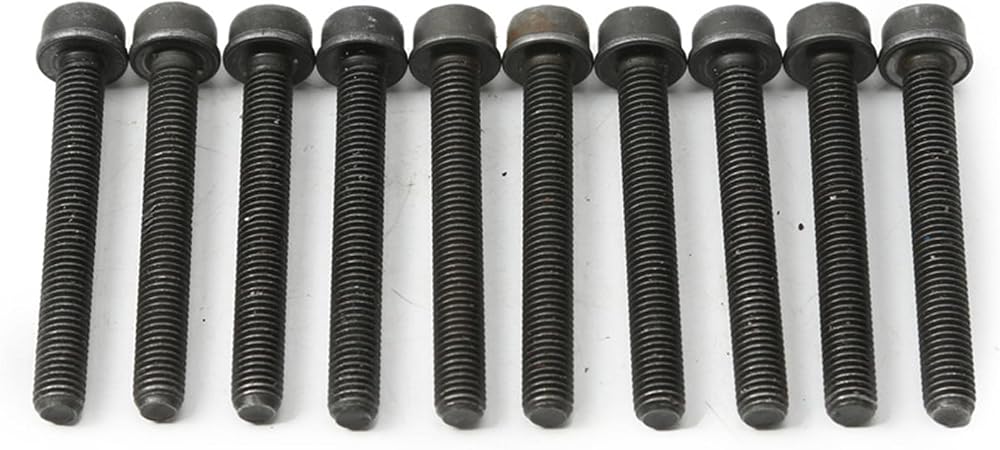
N91118902 Cylinder Block Crankcase Bolt Installation Notes.
1,Preparation before installation.
Cleaning and Inspection.
Cleaning of bolts and threaded holes: Use compressed air or solvent (such as acetone) to thoroughly remove oil, dirt and metal debris from the bolts and cylinder block threaded holes to ensure that there are no impurities left.
Bolt condition inspection: Make sure the bolt has no stretching deformation, thread damage or rust.
Repair of threaded holes: If there is burr or damage to the threaded holes, use specification taps (e.g. M12×1.5) to repair them to avoid forcible installation leading to wire slippage.
2,Installation process and torque control
Step-by-step tightening and sequence specification
Torque and angle tightening method
Torque method: Use the calibrated digital torque wrench (accuracy ±3% or less), tighten according to the manual value (e.g. N91118902 target torque is 120±5 N-m).
Angle method (applicable to some models)
First tighten to the base torque (e.g. 40 N-m), then rotate the specified angle (e.g. 90°+15°) to ensure that the bolt plastic deformation reaches the designed preload.
It is necessary to cooperate with angle sensor or wrench marking for precise control.
3, Post-installation verification
Function test and review
Visual inspection: Make sure the head of the bolt is flush with the plane of the cylinder, without tilt or gap.
Sealing test: Pressurized test (e.g. oil pressure 0.3-0.5 MPa) after assembling to check whether there is any leakage at the bonding surface.
Dynamic monitoring: After the first start-up, read the vibration data of the cylinder block through the diagnostic instrument to exclude the hidden danger of bolt resonance.

 زر التبديل Yiklwwy Start-Stop 561959839 56D959839A لاستبدال VW Passat 2010-2015
SAR 151
زر التبديل Yiklwwy Start-Stop 561959839 56D959839A لاستبدال VW Passat 2010-2015
SAR 151
 WHT007212B عمود الحدبات جسر قوس O-حلقة الختم 52X3 مم استبدال لشركة VW CC EOC Jetta Passat Golf Tiguan AUDI A3 A4 A5 A6 A7 A8 Q3 Q5 TT سيات سكودا (قطعة واحدة)
SAR 57
WHT007212B عمود الحدبات جسر قوس O-حلقة الختم 52X3 مم استبدال لشركة VW CC EOC Jetta Passat Golf Tiguan AUDI A3 A4 A5 A6 A7 A8 Q3 Q5 TT سيات سكودا (قطعة واحدة)
SAR 57
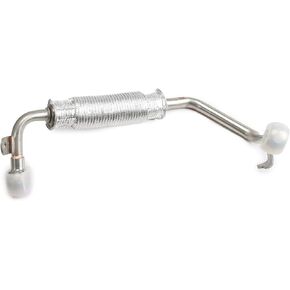 06J121497H خرطوم أنبوب التبريد غاز العادم الشاحن التربيني لاستبدال VW CC Golf Jetta Passat Polo Tiguan AUDI A3 Q3 TT سيات سكودا CBFA CCTA
SAR 204
06J121497H خرطوم أنبوب التبريد غاز العادم الشاحن التربيني لاستبدال VW CC Golf Jetta Passat Polo Tiguan AUDI A3 Q3 TT سيات سكودا CBFA CCTA
SAR 204
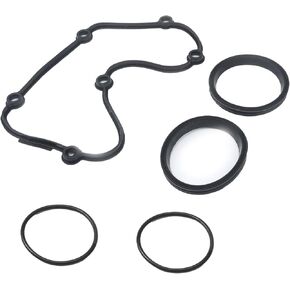 محرك الاسطوانة غطاء الصمام جسر قوس تحمل ختم توقيت غطاء طوقا استبدال لشركة فولكس فاجن جولف باسات تيجوان أودي A4 A6 Q5 TT سيات سكودا
SAR 184
محرك الاسطوانة غطاء الصمام جسر قوس تحمل ختم توقيت غطاء طوقا استبدال لشركة فولكس فاجن جولف باسات تيجوان أودي A4 A6 Q5 TT سيات سكودا
SAR 184