- Shopping, made easy.
- /
- Get the app!
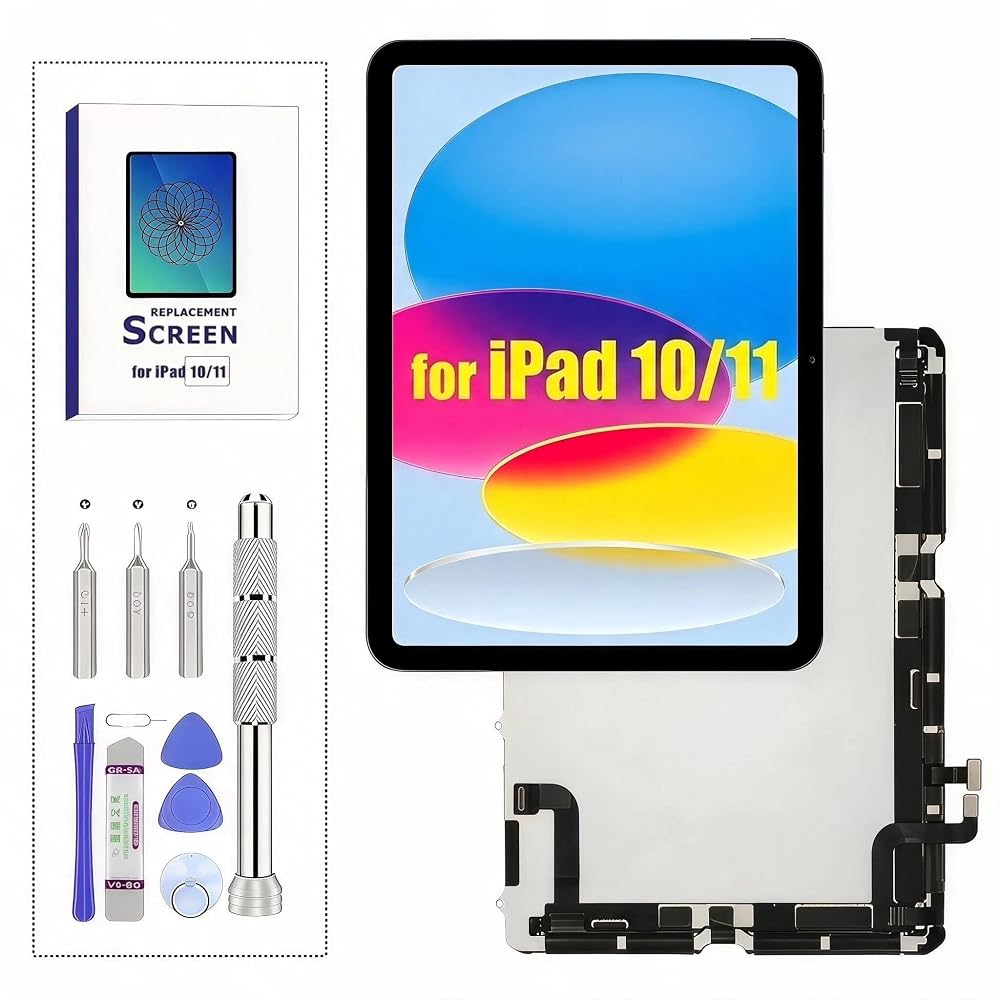
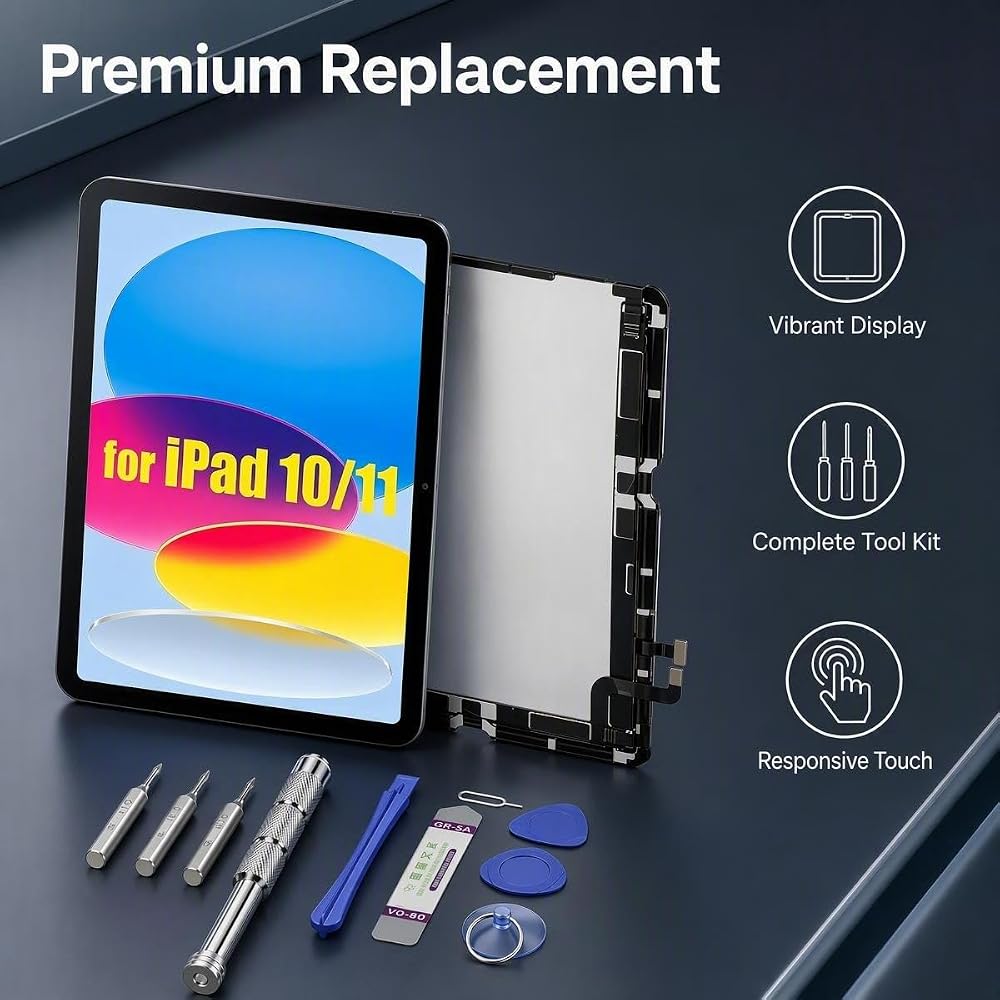
for iPad 10.9 LCD Screen Replacement Installation Guide | Product Description
Thank you for choosing our professional LCD screen replacement! To ensure a smooth, safe, and successful screen replacement experience and avoid unnecessary device damage or installation failures, please carefully follow the important installation guidelines below before starting your repair.
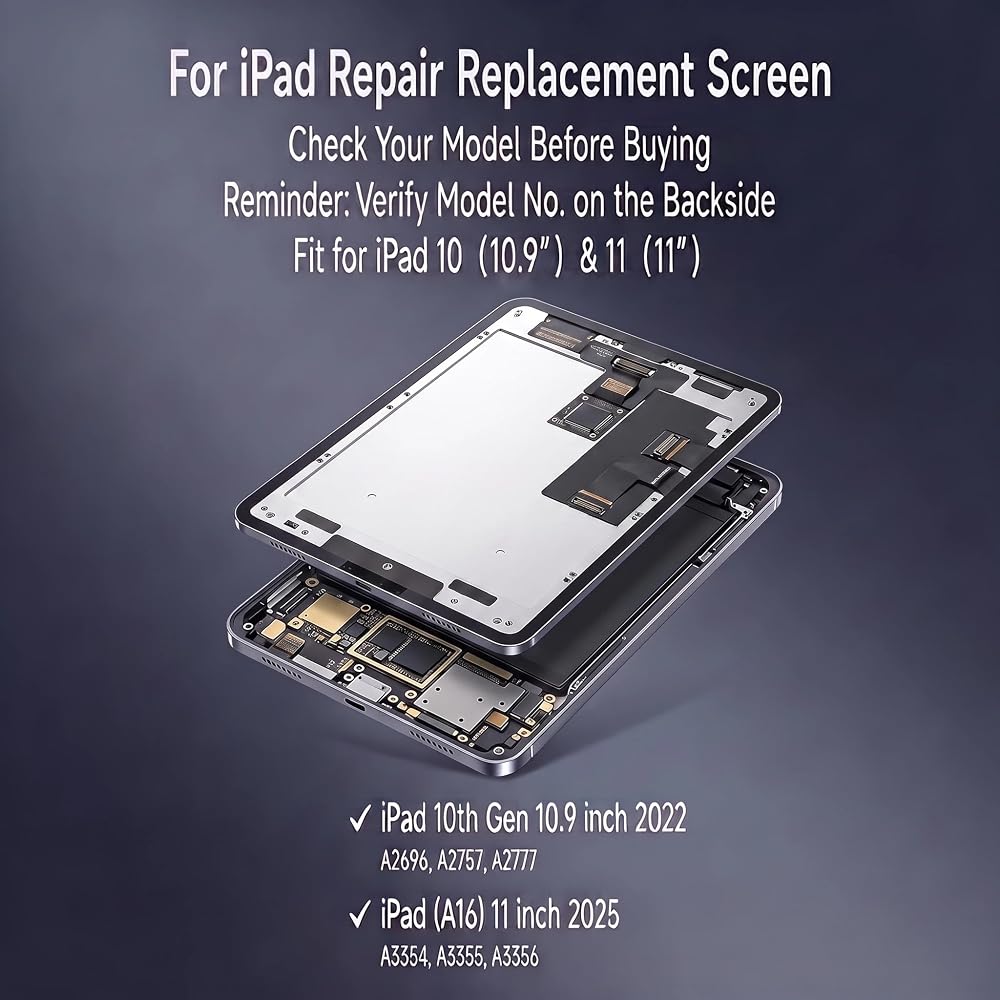
1. Strictly Confirm Device Compatibility First. This premium LCD screen replacement is exclusively tailored for iPad 10th Gen 10.9-inch 2022 and for iPad 11th Gen 2025, compatible with device model numbers A2696, A2757, A2777, A3354, A3355, and A3356. It is not compatible with any other iPad models of different sizes or versions. If you are unsure of your device model, please check the exact model information in your settings or consult official support before placing an order to avoid mismatched purchases.
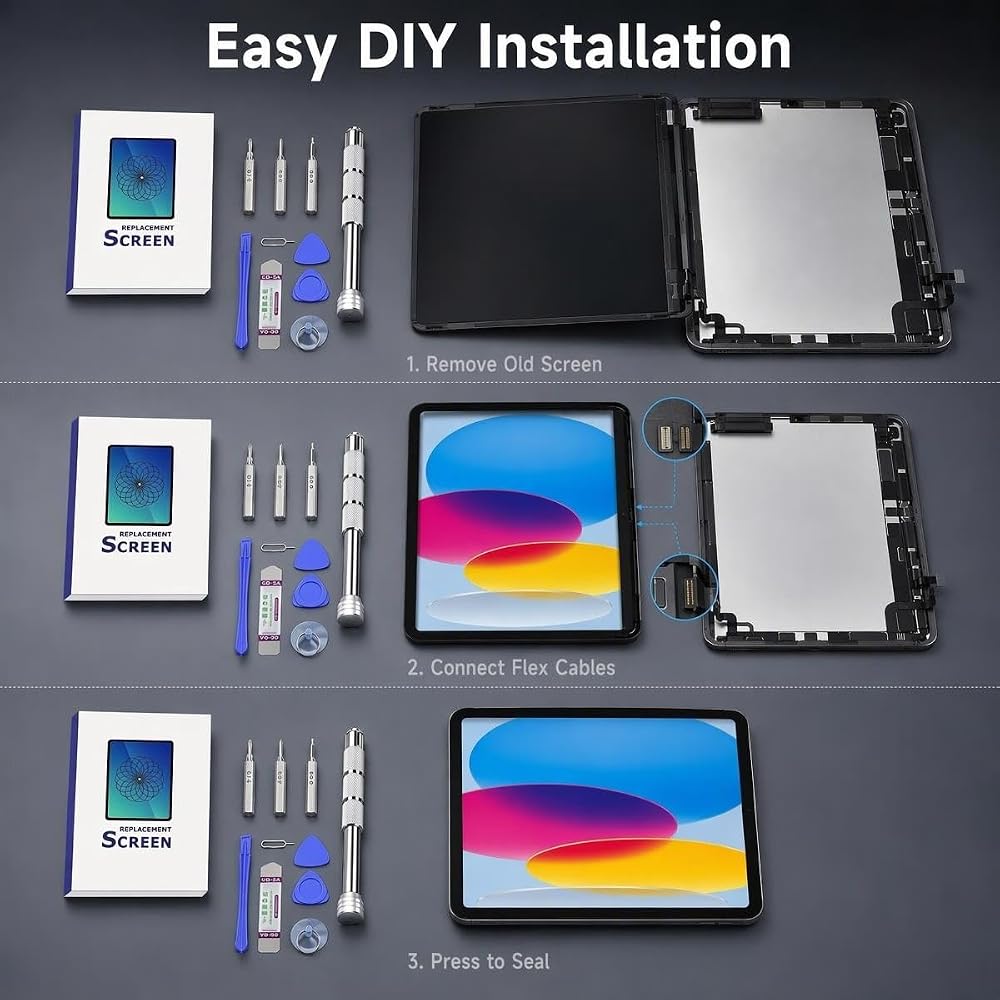
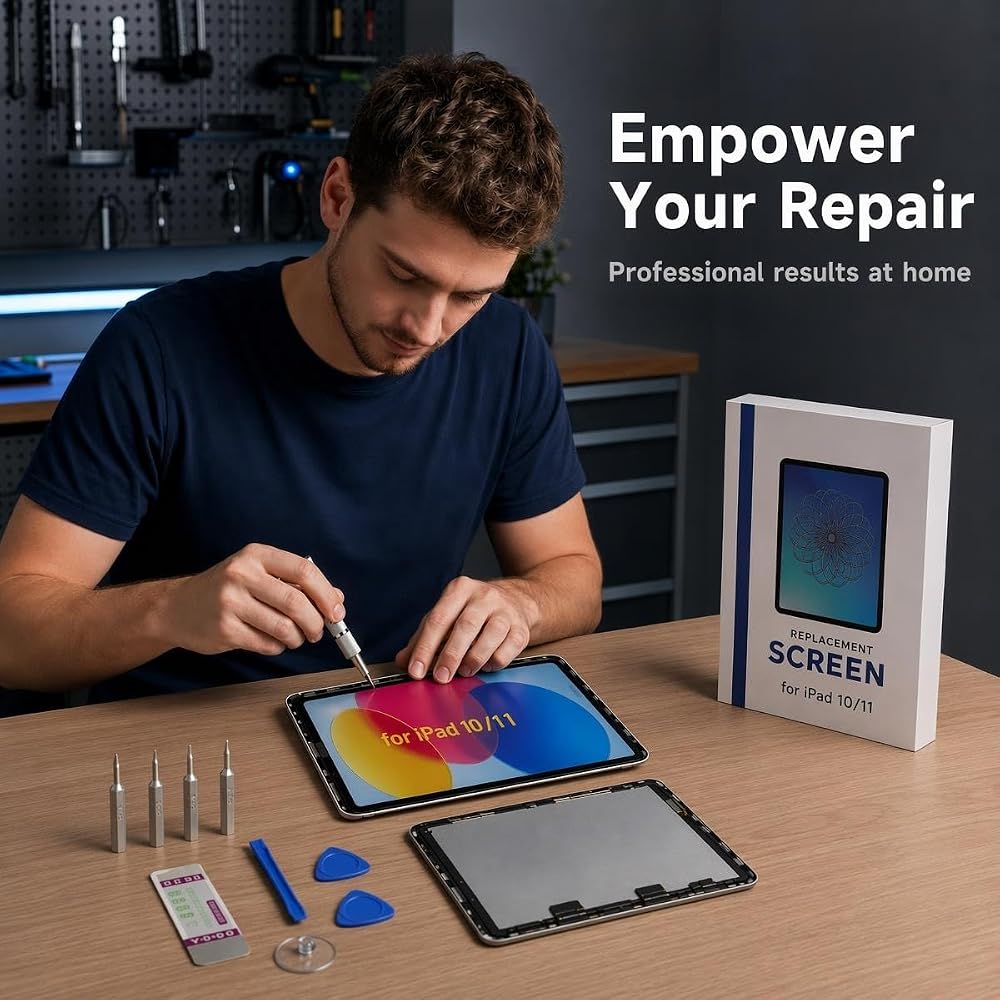
2. Prepare Complete Professional Disassembly Tools. To achieve a safe and efficient screen replacement, we recommend preparing complete professional disassembly tools before installation, including precision screwdrivers, suction cups, spudgers, and other essential repair tools. Standard and specialized tools can effectively prevent tool slippage, component scratches, and disassembly errors, greatly improving the success rate of DIY repair.
3. Power Off the Device Completely Before Disassembly. Before disassembling your iPad, please fully power off the device. This step is crucial to avoid static electricity damage, short circuits, and burnout of internal circuit components and display parts during the rerplacement process. Never disassemble the device while it is powered on to ensure installation safety.
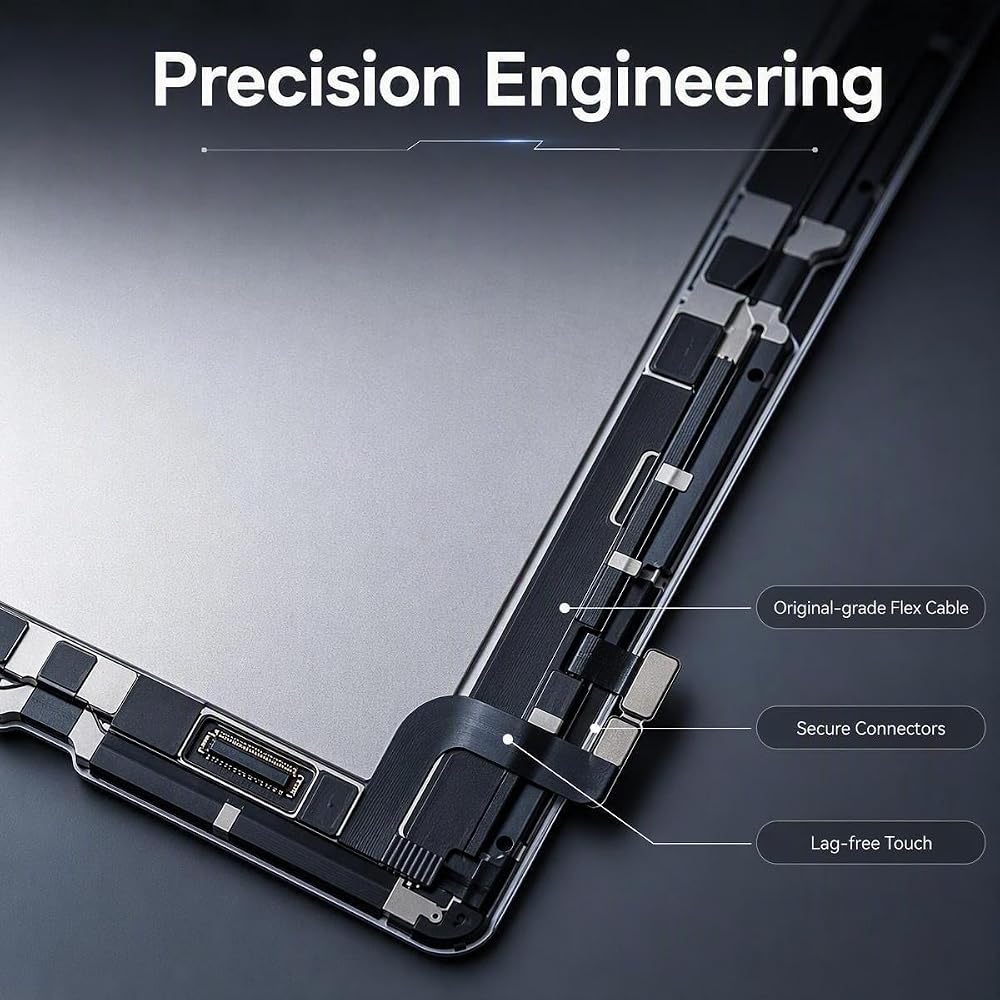
4. Gentle Disassembly to Avoid Component Damage During the process of removing the original old screen, please operate gently and steadily. Do not use excessive force, squeeze, or pry the device violently. Improper brute force operation will easily damage the fragile screen flex cables, internal connectors, and iPad chassis, causing secondary irreversible damage to the device.
5. Full Function Test Before Final Assembly After connecting the new LCD screen and before fully fixing and assembling the device shell, please power on the iPad for a complete function test. Carefully check the display clarity, color accuracy, screen brightness, and verify the normal operation of sensors and other related functions. Please confirm all features work perfectly before formal installation and fixing.
6. Choose Professional Repair Service If Needed This DIY screen replacement requires basic tablet repair experience and operational proficiency. If you are a complete beginner or lack confidence in the disassembly and installation process, we strongly recommend you turn to a local professional repair technician for installation. Professional operation can effectively avoid device damage and safety risks caused by improper DIY handling.
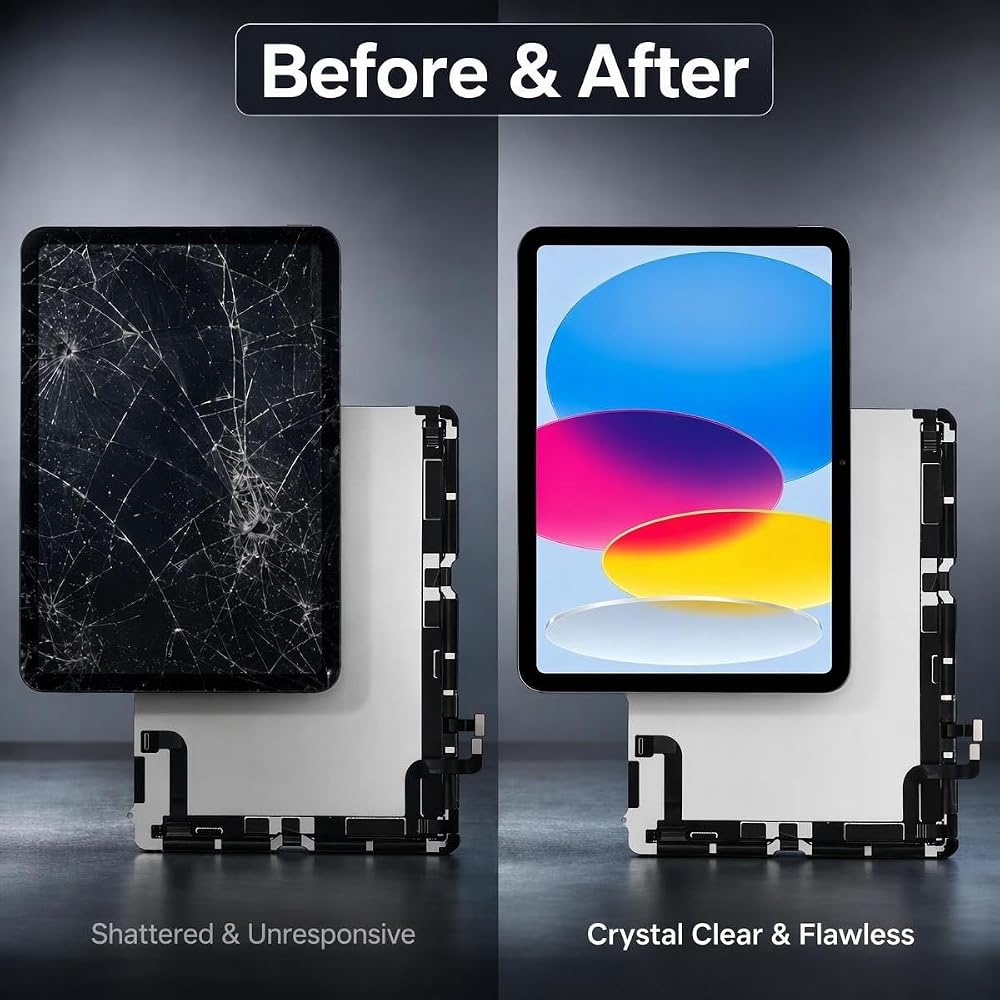
By following the above standard installation specifications and operating guidelines, you can effectively reduce various potential problems during the repair process, perfectly replace the old damaged screen, and restore your iPad to excellent display performance and daily working functionality.
 Replacement Battery Compatible with Galaxy Tab A7 Lite, Galaxy Tab A7 Lite 8.7 2021, SM-T220, SM-T225, SM-T225C, SM-T225N HQ-3565N, HQ-3565S 5100mAh 3.82V
SAR 183
Replacement Battery Compatible with Galaxy Tab A7 Lite, Galaxy Tab A7 Lite 8.7 2021, SM-T220, SM-T225, SM-T225C, SM-T225N HQ-3565N, HQ-3565S 5100mAh 3.82V
SAR 183
 Black Touch Screen Digitizer Repair Kit for iPad 9.7" 2018 iPad 6 6th Gen A1893 A1954 Front Glass Replacement (Without Home Button,not Include LCD) +Pre-Installed Adhesive + Tools
SAR 81
Black Touch Screen Digitizer Repair Kit for iPad 9.7" 2018 iPad 6 6th Gen A1893 A1954 Front Glass Replacement (Without Home Button,not Include LCD) +Pre-Installed Adhesive + Tools
SAR 81
 White Digitizer Repair Kit for iPad 9.7" 2018 iPad 6 6th Gen A1893 A1954 Touch Screen Digitizer Replacement with Home Button + Tools
SAR 83
White Digitizer Repair Kit for iPad 9.7" 2018 iPad 6 6th Gen A1893 A1954 Touch Screen Digitizer Replacement with Home Button + Tools
SAR 83
 Dedyel Black Touch Screen Replacement for iPad 5 2017 9.7 inch, A1822 A1823 Digitizer Replacement with Home Button + Tool kits
SAR 94
Dedyel Black Touch Screen Replacement for iPad 5 2017 9.7 inch, A1822 A1823 Digitizer Replacement with Home Button + Tool kits
SAR 94

 Saudi Arabia