Starlink Mount Gen 3, Starlink Tripod Stand with Mount Adapter, Adjustable Height for Starlink Standard 4/4X/V3, 90° Tilt Angle Adjustment Starlink Antenna Pipe Adapter (Black) White
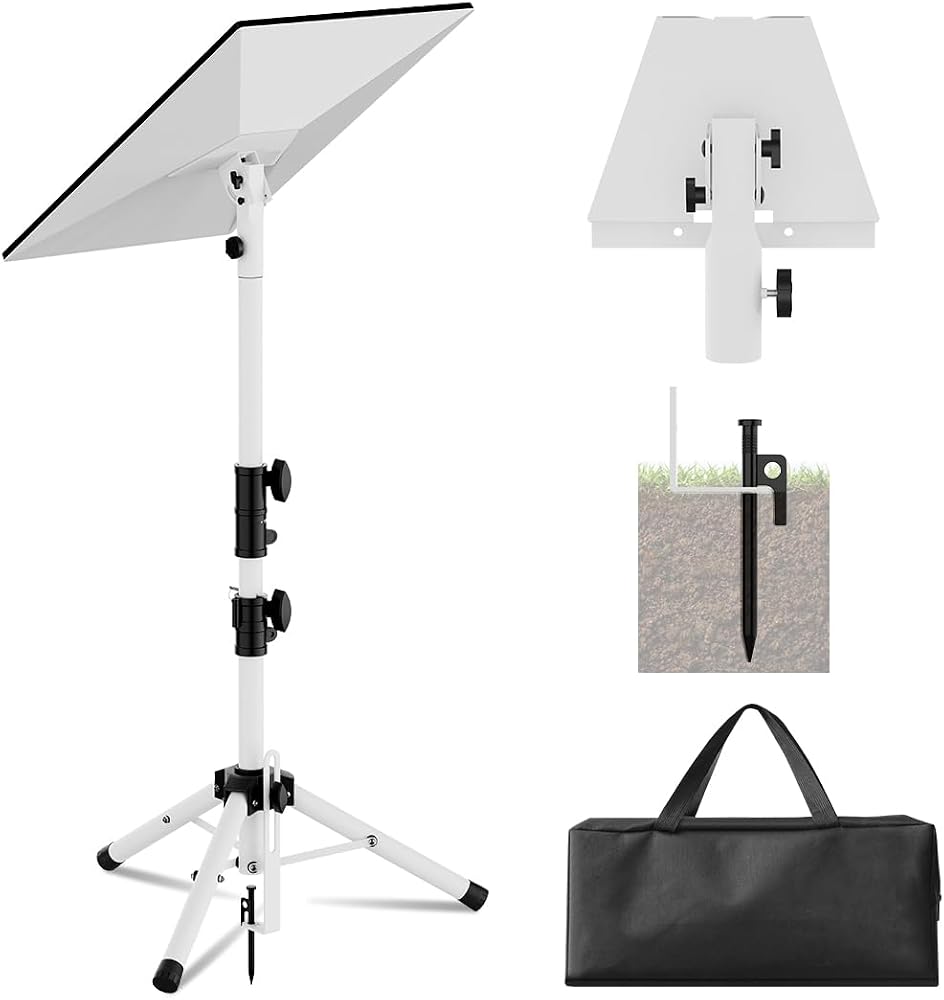
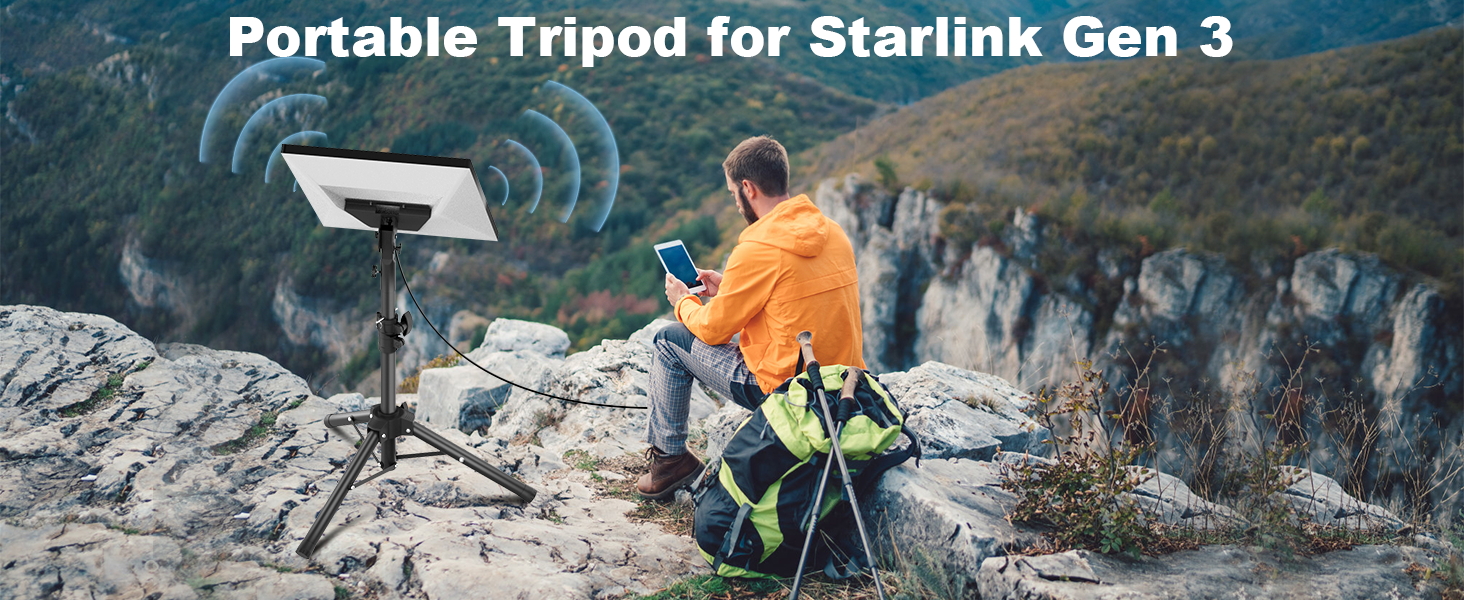
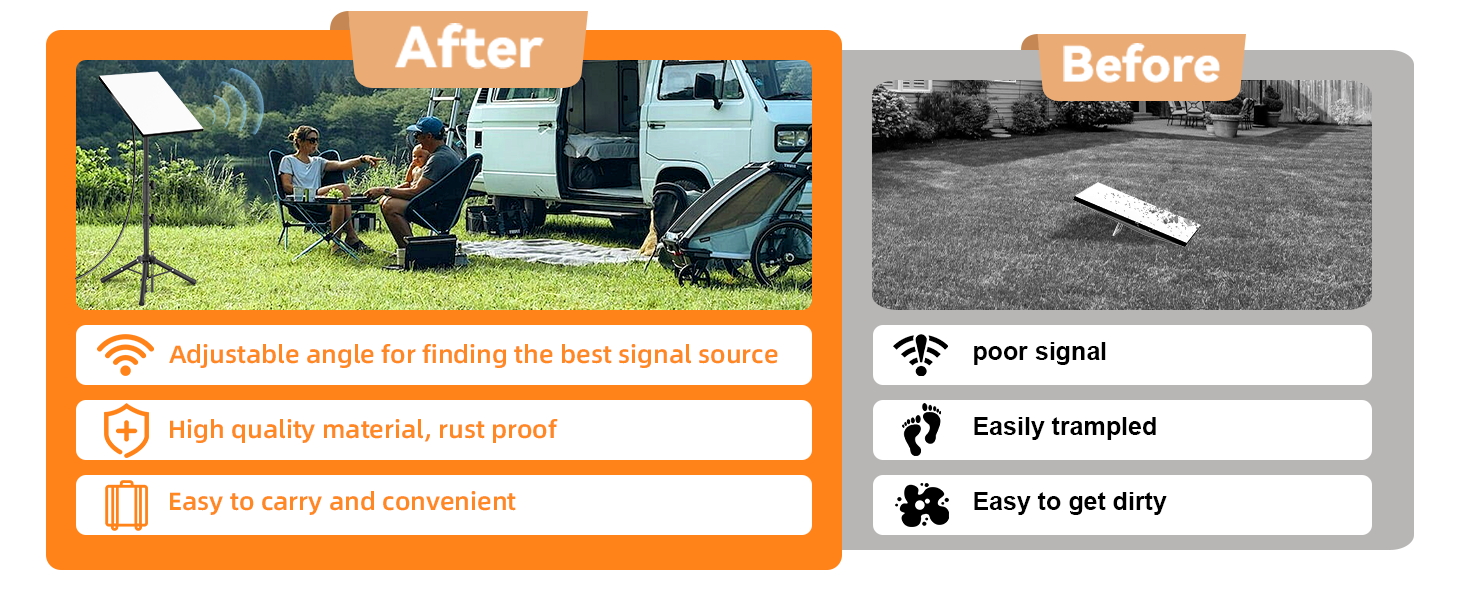
Compatible with Starlink Standard 4/4X/V3, this starlink tripod mounting kit comes with a precision adapter that is compatible with Starlink Gen 3. The creatively designed angle-adjustable adapter allows you to adjust the angle of the starlink at any time to maximize signal reception
Upgraded stabilizing design, when used on soft ground, you can use ground spikes and insert the spikes in the soil to ensure the tripod and starlink have strong stability
Starlink tripod mount constructed of durable reinforced Iron for reliable strength, rust and corrosion resistance; 60 lb maximum weight capacity; easily adjustable to meet varying height requirements up to 53 inches and adjustable angle with removable tube adapter, compact storage design for easy portability
Tubes of the heavy duty starlink mount Gen 3 are secured with knobs for a stronger connection to avoid loosening and slipping, ensuring the stability of the satellite in all environments (the topmost tube can be removed if it is not needed too high)
When you are out, you can mount the Starlink Gen 3 on the tripod and conveniently place it in the open space; you can also conveniently place the tripod in the courtyard; convenient and flexible, suitable for various environments, such as camping, courtyard, car-side
You can watch the video and instruction manual for installation. Note:Compatible only with Starlink Standard 4/4X/V3. Not compatible with Starlink Mini, Starlink Performance Gen 2, Starlink Performance Gen 3, Starlink Standard Actuated. Please note that there are no screw holes on the satellite dish, and wehave these two screws just to further secure the connectionbetween the signal boardand the bracket. So you just need to put the two spacers into the holes in the satellite dish first, and then gently twist the screws to complete the installation. Be careful not to screw the screws too hard to prevent the spacers from being turned through and damaging the satellite dish
 Venture Horizon Revolving Media Tower 1600 Grande-Black
SAR 1,637
Venture Horizon Revolving Media Tower 1600 Grande-Black
SAR 1,637
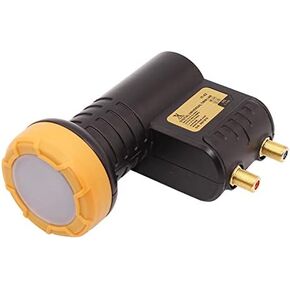 Twin Output KU Band LNB High Gain Universal Ku Band Dual Output Hd Lnbf Two Connect LNBF,FTA for Free tv Antenna Universal LNB Dual, Twin Low Noise Block
SAR 126
Twin Output KU Band LNB High Gain Universal Ku Band Dual Output Hd Lnbf Two Connect LNBF,FTA for Free tv Antenna Universal LNB Dual, Twin Low Noise Block
SAR 126
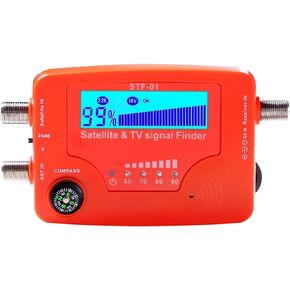 Digital Satellite Finder, Weytoll 2 in 1 Satellite and TV Signal Finder STF-01 TV Antenna Signal Strength Meter Signal Finding Meter with Compass Alarm Buzzer
SAR 136
Digital Satellite Finder, Weytoll 2 in 1 Satellite and TV Signal Finder STF-01 TV Antenna Signal Strength Meter Signal Finding Meter with Compass Alarm Buzzer
SAR 136
 VIVIDSTORM-Projection Screen,PRO Slimline Motorized Office Presentation,Remote Controlled Drop Down Screen,Color Display Feature,Compatible with 4K Ultra Short Throw Laser Projector,VBMSLUST120H
SAR 8,687
VIVIDSTORM-Projection Screen,PRO Slimline Motorized Office Presentation,Remote Controlled Drop Down Screen,Color Display Feature,Compatible with 4K Ultra Short Throw Laser Projector,VBMSLUST120H
SAR 8,687

 Saudi Arabia